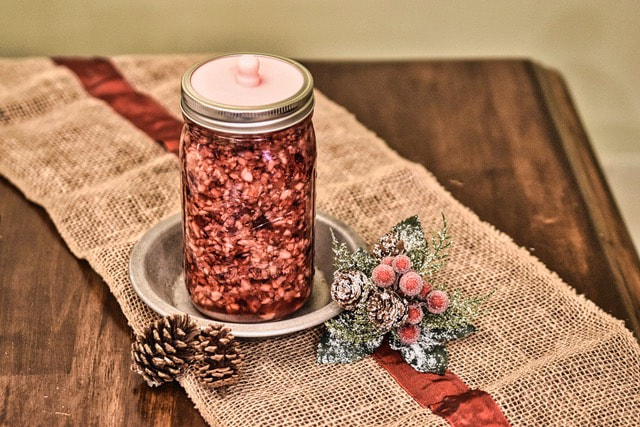
 Merry Christmas!! This fermented sauce is a favorite holiday recipe in our house and we wanted to share it with you! Similar to a chutney, it is so delicious alongside your meal and the best part is that this is actually healthy for you! But you may ask, why ferment cranberry sauce? The process of fermentation breaks down the natural and added sugars to form beneficial bacteria that are great for good gut health and digestion. When fermented foods are added to our meals, they can actually aid in digestion. Not only that, but through fermentation, the naturally occurring nutrients are more bioavailable, meaning we’re getting more bang for our buck by eating the fermented product over eating them raw. Many people also consider cranberries to be a superfood because of their high antioxidant content. We included the recipe in video form below from the original source, if you want to see it in action. We hope you give it a try this Christmas and if you do, leave us a comment! ; ) Fermented Cranberry Sauce Recipe Ingredients
Instructions
1 Comment
A delicious, cooling drink that is perfect for using up those extra summer cucumbers! This recipe is a new favorite of ours and we hope you will enjoy it just as much! 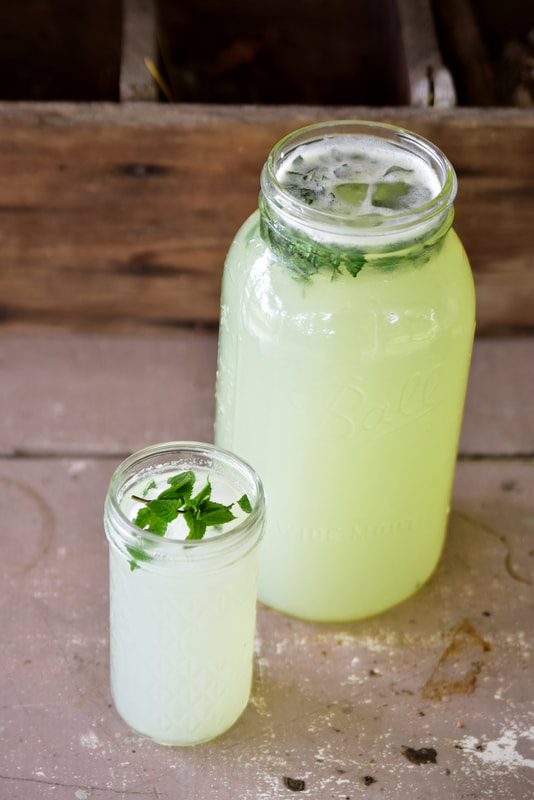 Ingredients:
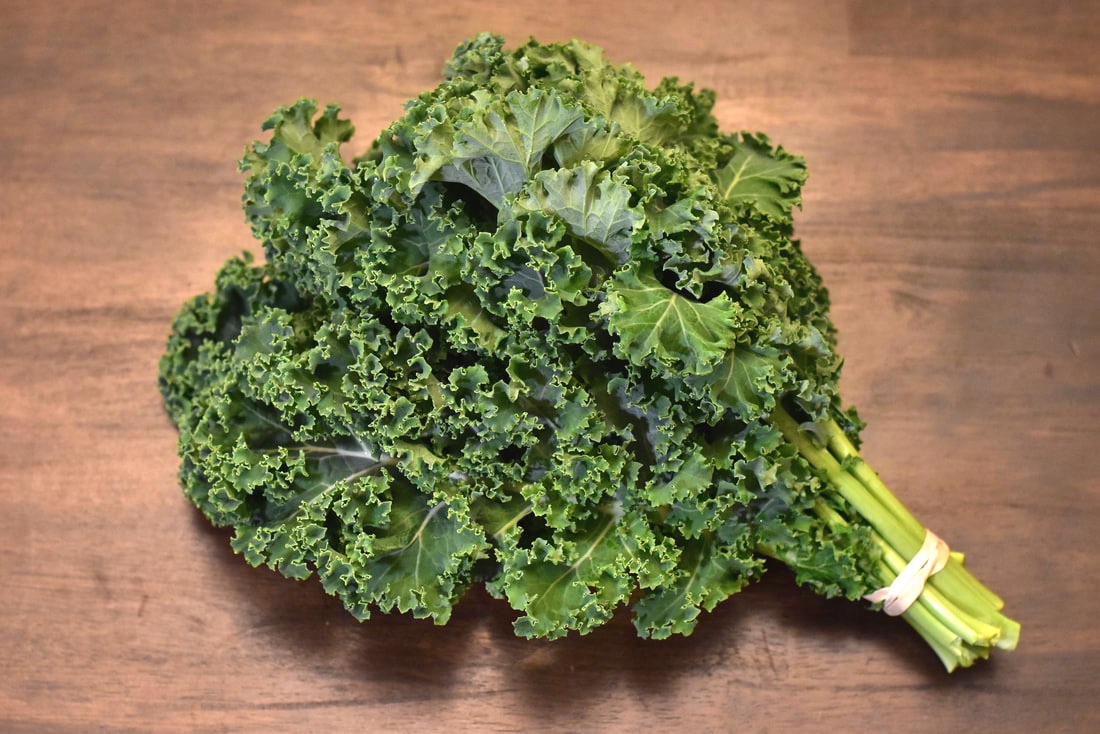
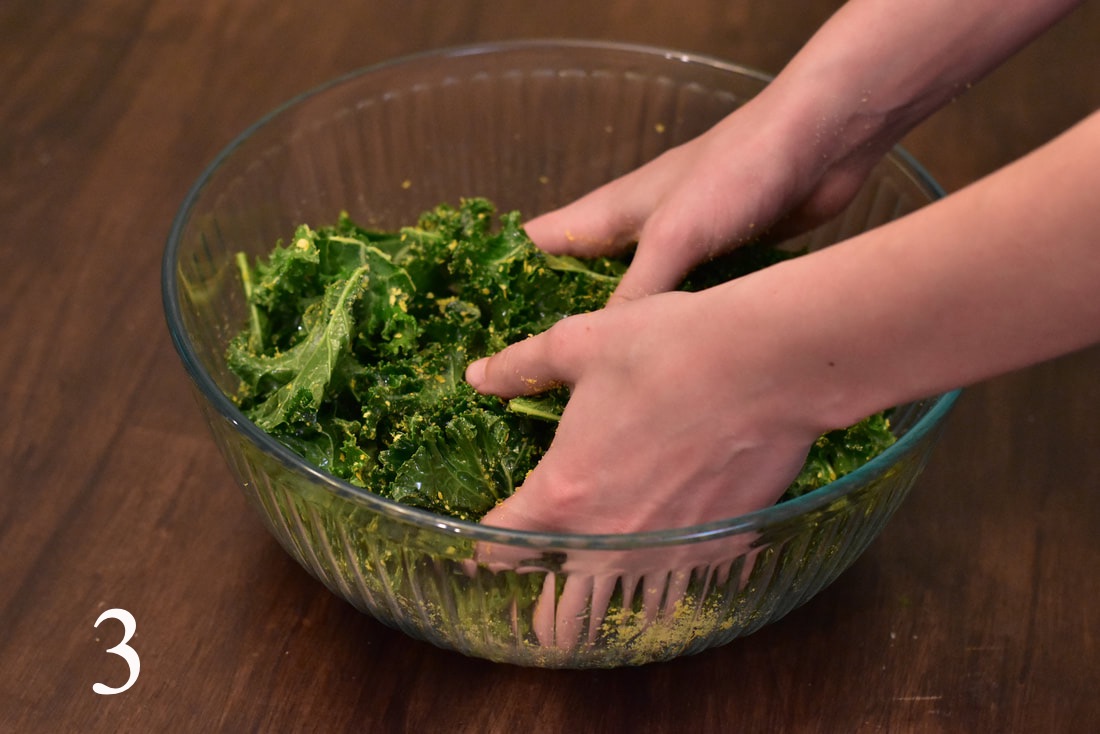
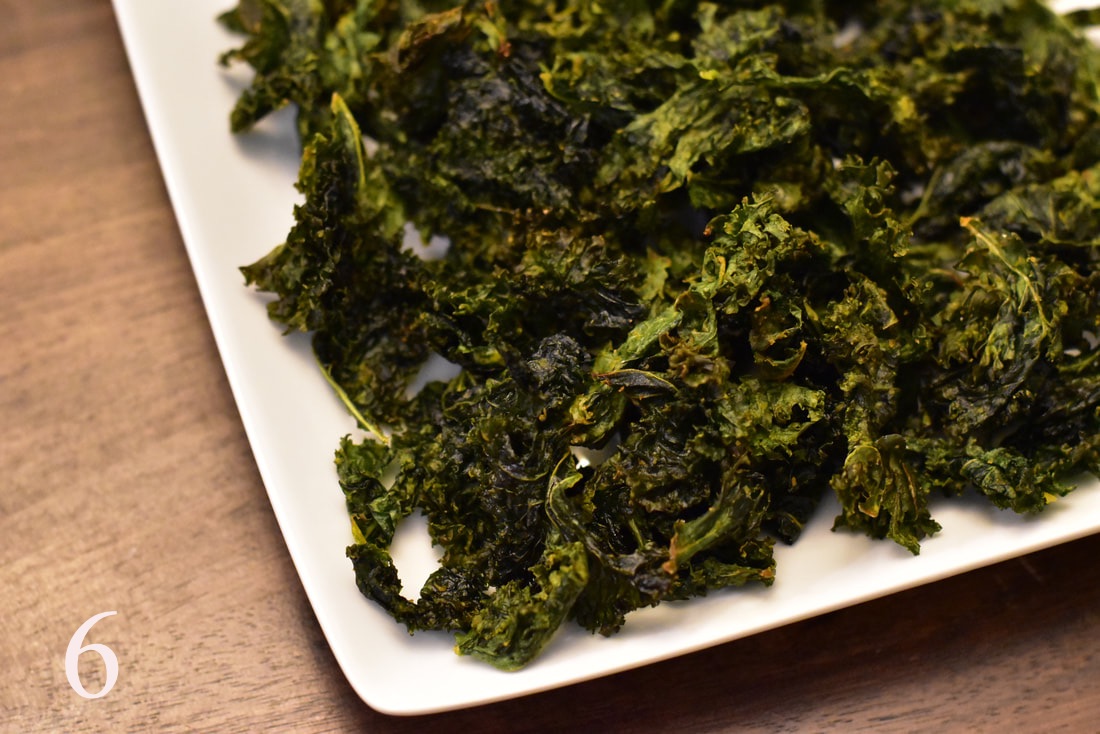
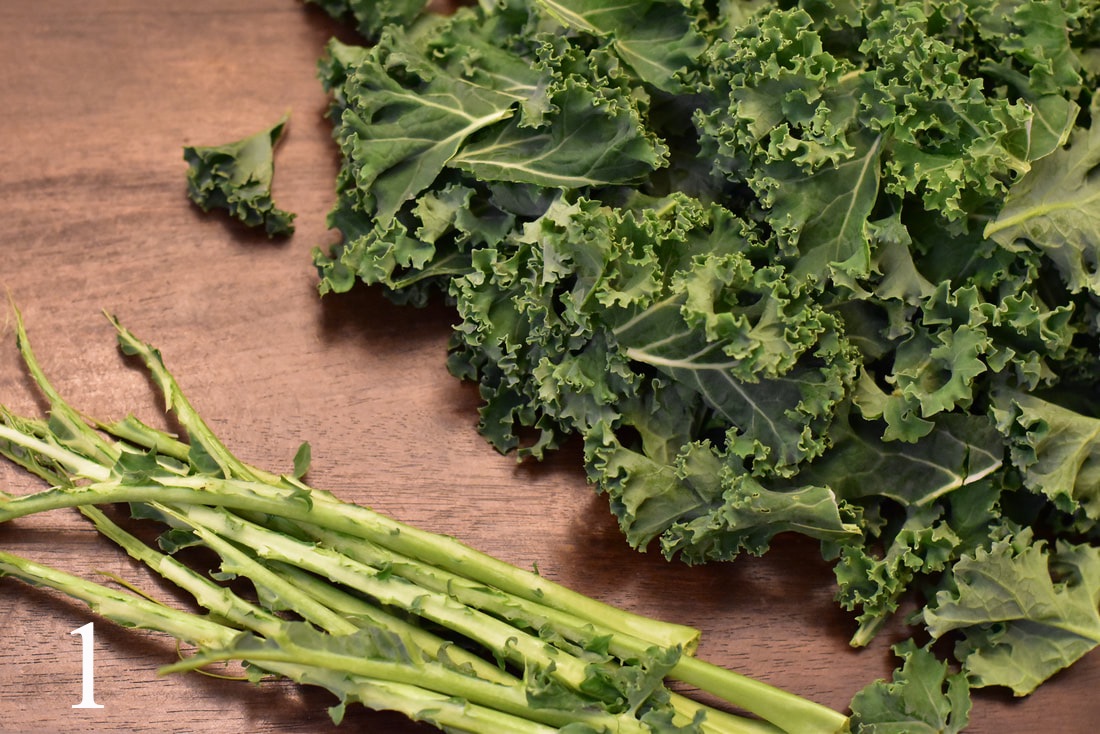
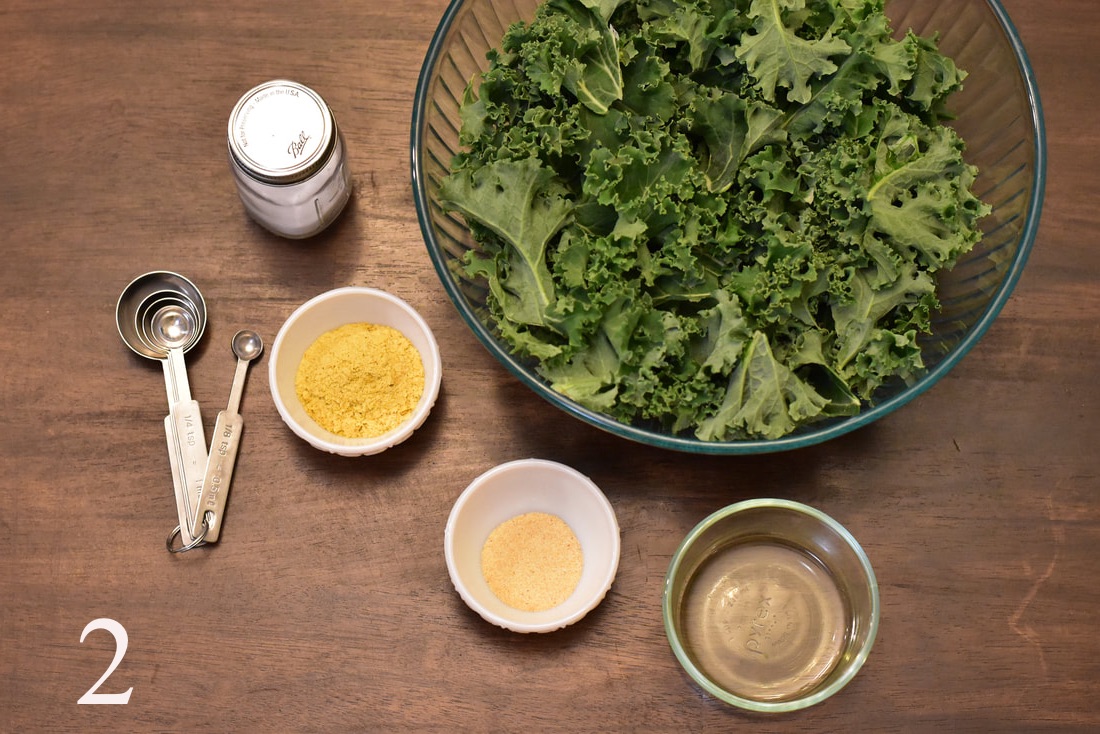
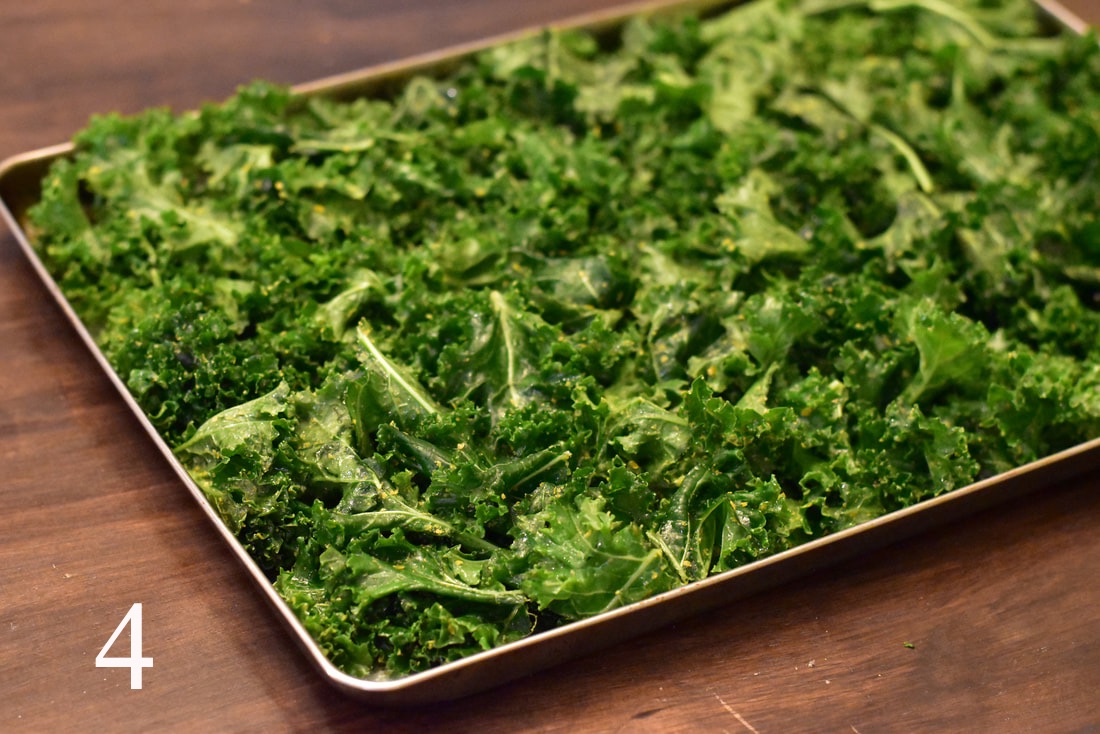
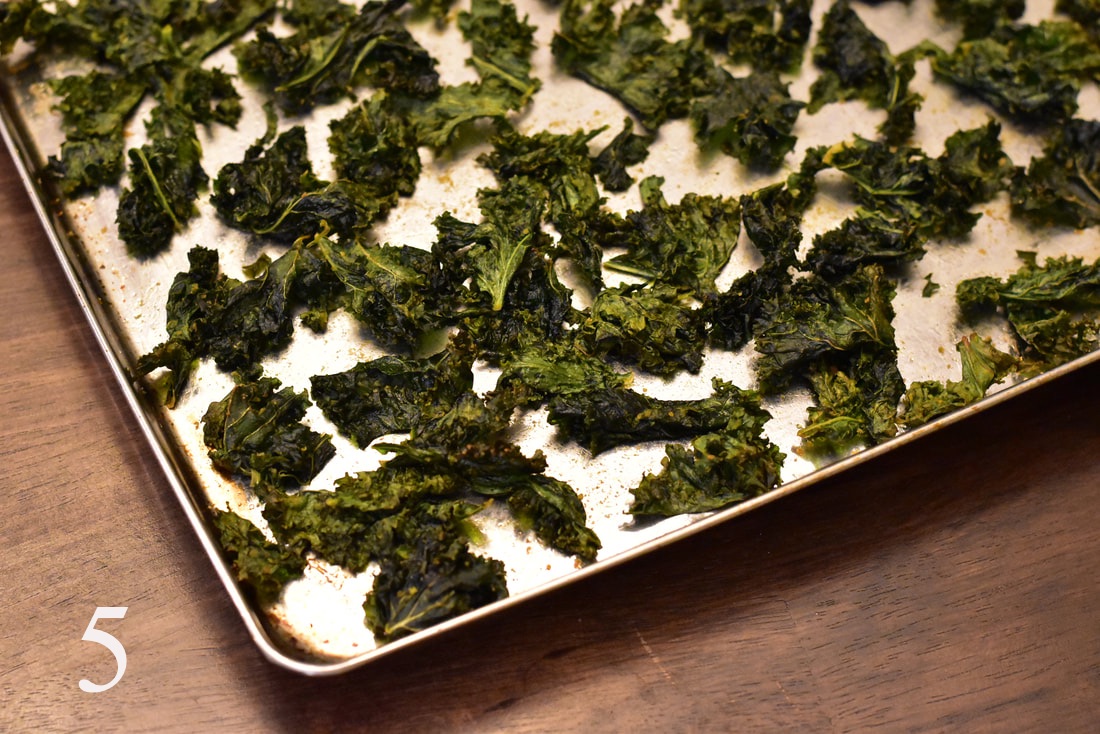
1. Peel and roughly chop cucumbers and place in a half gallon jar. Fill the jar with water, just enough to cover the cucumber chunks, and blend with an emersion blender until smooth. Alternatively, you can do this step in your countertop blender. 2. Strain the blended cucumber through a sieve to remove the pulp. The cucumber concentrate can now be poured into a 1 gallon container. 3. Add lime juice and mint leaves to the concentrate and fill the rest of the way with water. Sweeten to taste and add ice. Enjoy! * Maple syrup is a great, all-natural sweetener for this drink, but you could use stevia powder/ concentrate, coconut sugar, honey, monk fruit, cane sugar, etc.  This very simple, but delicious, recipe is a favorite in our family for a healthy lunch, snack or side dish! It is a great way to use up extra kale in your fridge or garden and what's even better is you can use any variety of kale you happen to have on hand. We hope you give it a try! Kale Chips
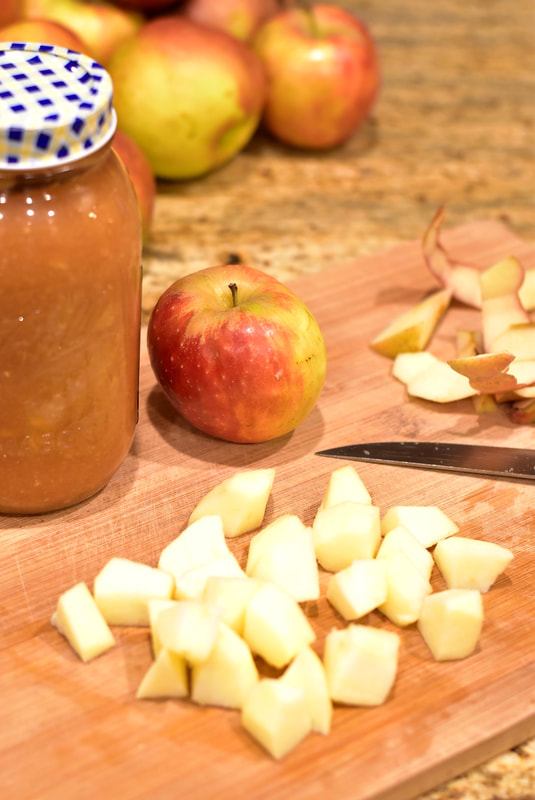
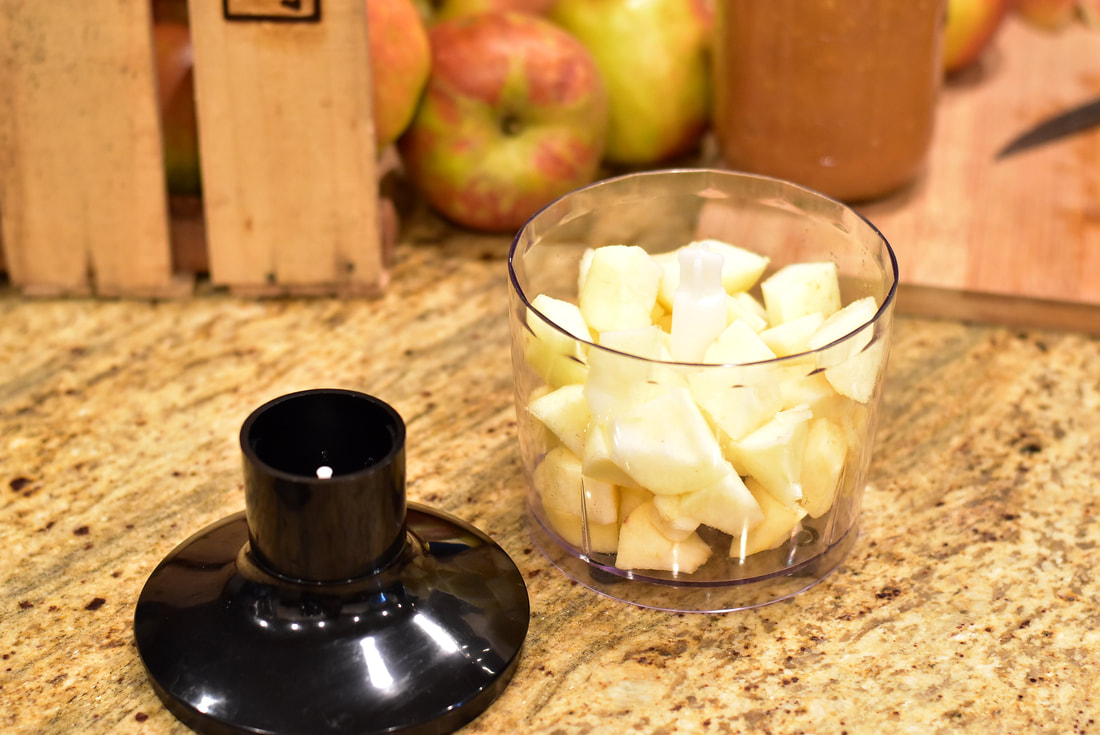
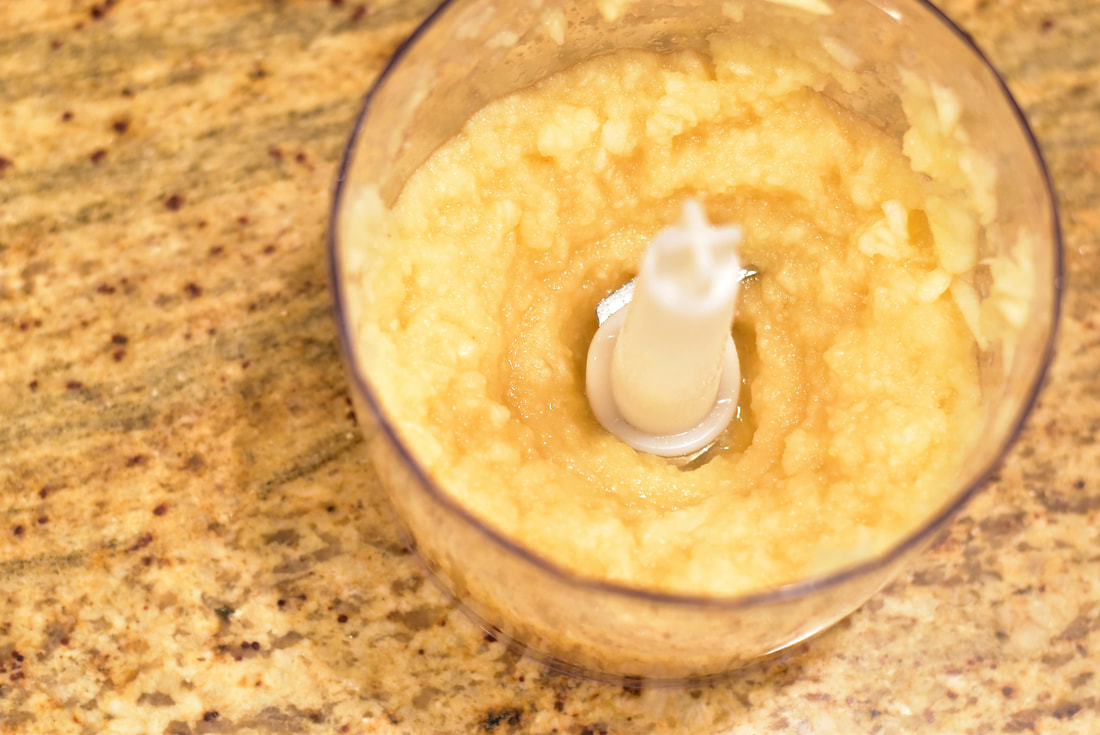
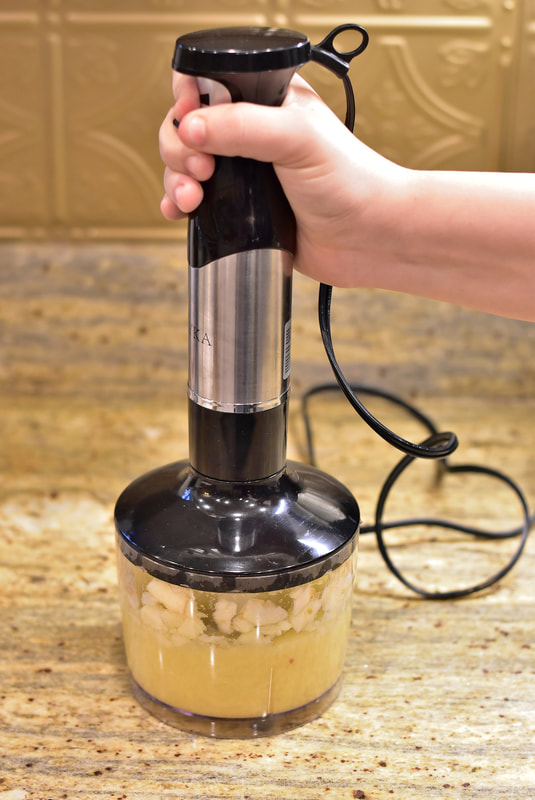
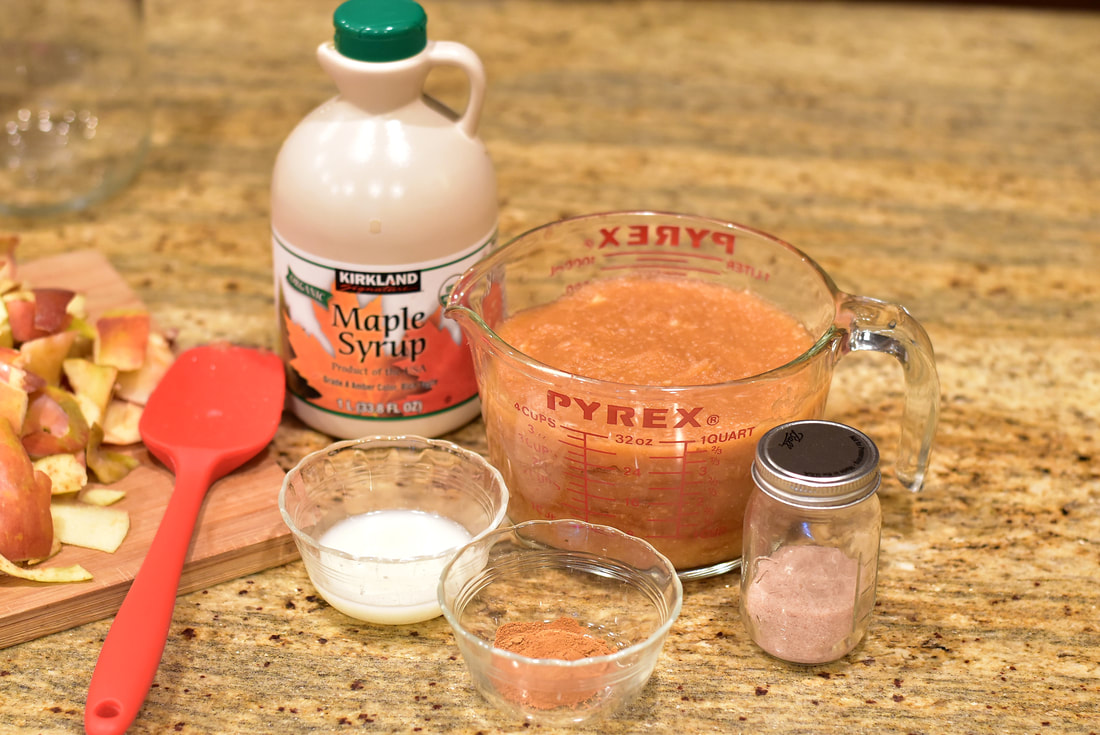
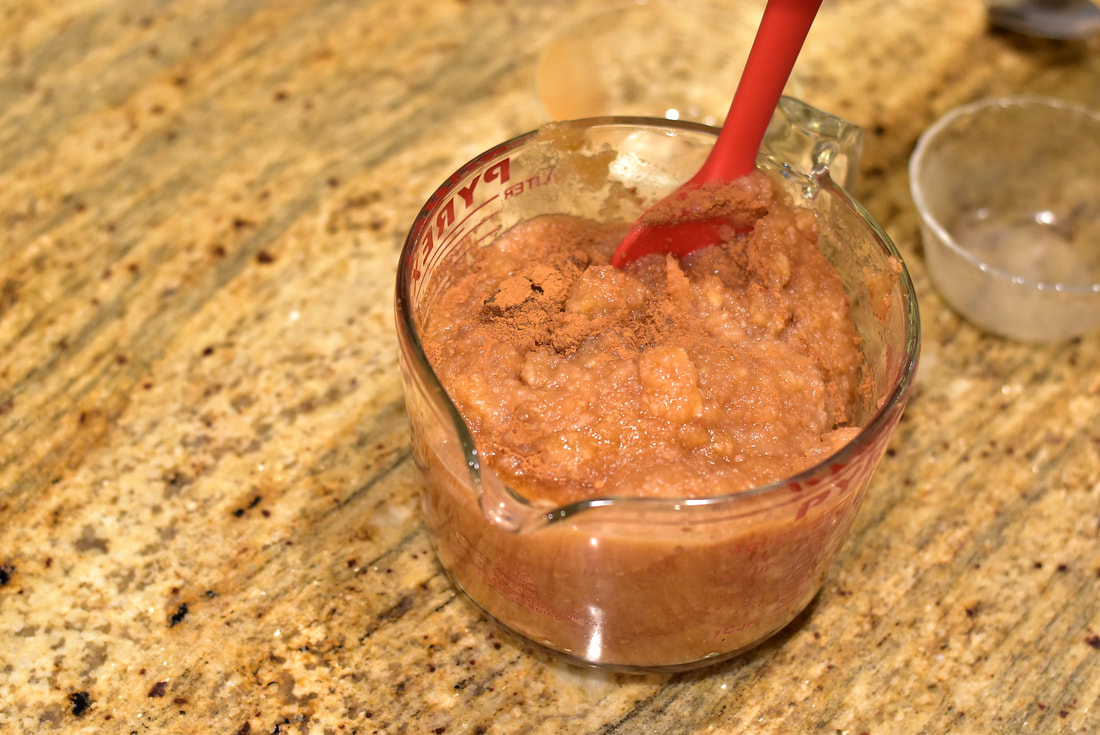
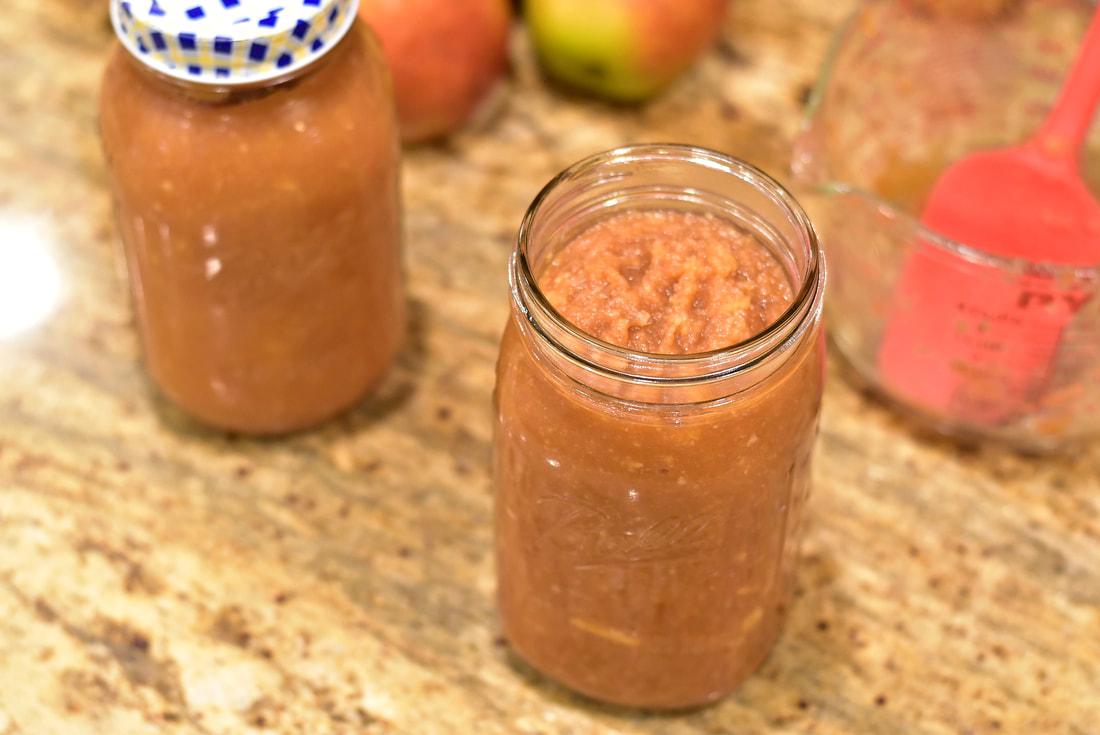
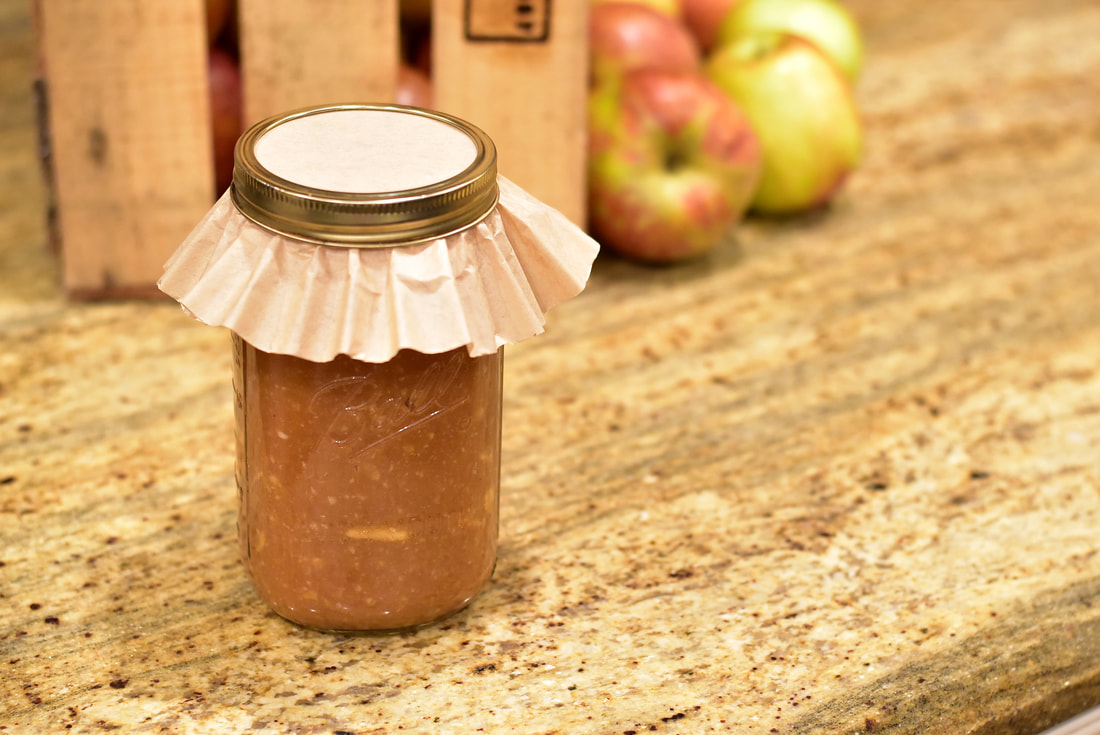
 It's apple season!! We all love making a trip to the orchard to buy "seconds" for our different apple "delights", but let's talk about applesauce! You can transform those grainy, cooking apples into something healthy for you and your family without canning! Raw, cultured applesauce is about as easy and nutrient dense as it gets, plus it's quick to make and something adults and children will enjoy! See below for the recipe! 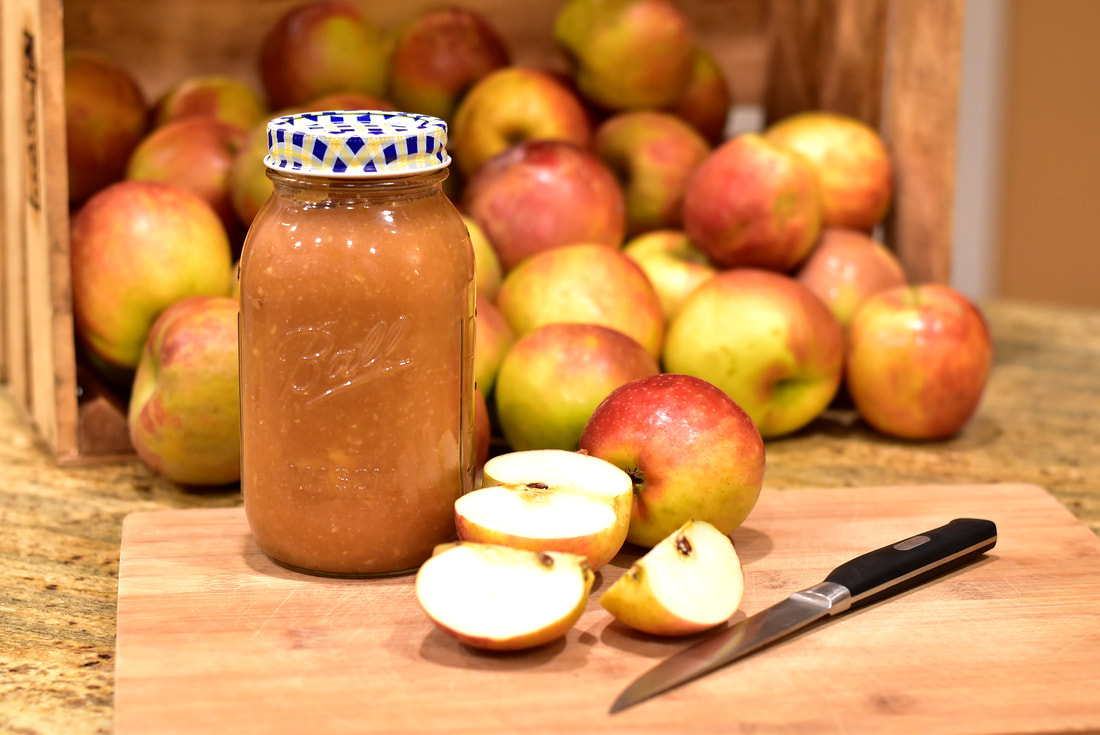
|
 |   |  |
 |  |  |
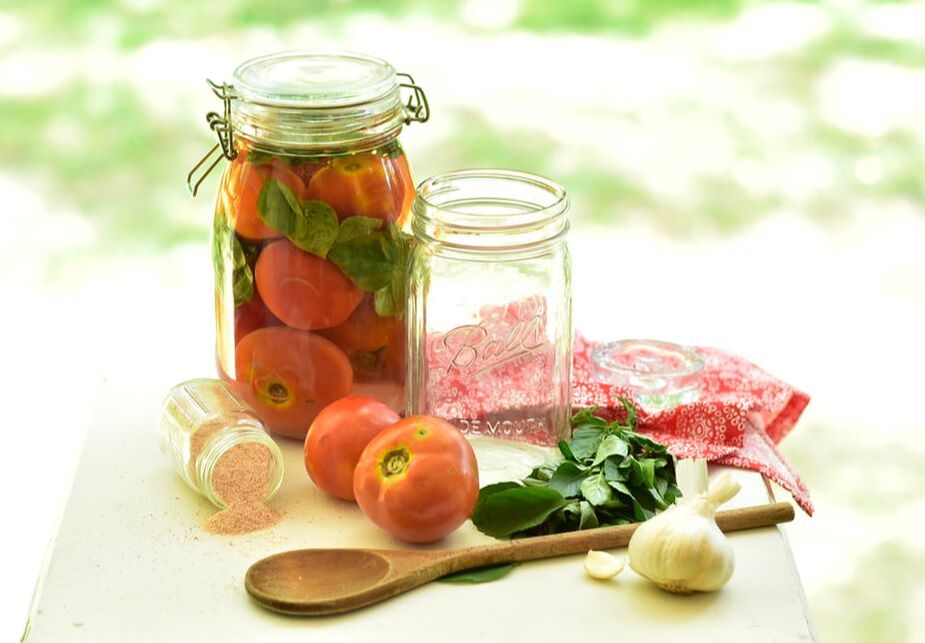
As the tomato bounty comes rolling in, the question arises, "what am I going to do with all of these?" You can't just let them rot on the counter, all that fruitfulness going to waste before your very eyes! But, a lot of days, we don't have the time or maybe even resources to preserve our lovely tomatoes through the most common method of canning. Did you know you can ferment your whole tomatoes? It's quick, easy and affordable! Not only that, but where canning kills enzymes and nutrients through its heating process, fermenting increases the nutritional value, becoming full of beneficial bacteria that can help heal your body and give you energy. How exciting! Once your tomatoes are fermented, they store well in a cool place for up to 6 months and are ready to pull out, puree and use as pizza sauce, spaghetti sauce or anything else you would like! We hope you give it a try! Drop us a comment if you do!
Fermented Tomatoes - Per Quart
-First, clean your jar with hot soapy water before using.
-Put salt in jar, add garlic clove and fill about half full with water.
-Stir well to dissolve salt, then add whole tomatoes and fresh herbs if using, one at a time, pushing, or "squishing" as many as you can into the jar - Medium size tomatoes work best for this.
-Top off with water, if needed, leaving 1 inch of head space at top of jar. Add a weight, if needed, to keep everything under the liquid and then cap off, screwing the lid loosely to allow gas to escape. Set on counter or shelf and leave for 3 weeks to ferment, then put in refrigerator or cool area to store.
Fermented Tomatoes - Per Quart
- 3 T Pink Himalayan Sea Salt, Realsalt, or salt of your choice (DO NOT use white table salt, as it will kill the good bacteria in your ferments... the very thing that is preserving your tomatoes.
- 1 garlic clove (optional)
- Whole tomatoes - as many as you believe you can squish into the jar, still leaving 1 inch of head space.
- 3-4 basil leaves/ fresh herbs of your choice (optional)
- Water (filtered or distilled)
-First, clean your jar with hot soapy water before using.
-Put salt in jar, add garlic clove and fill about half full with water.
-Stir well to dissolve salt, then add whole tomatoes and fresh herbs if using, one at a time, pushing, or "squishing" as many as you can into the jar - Medium size tomatoes work best for this.
-Top off with water, if needed, leaving 1 inch of head space at top of jar. Add a weight, if needed, to keep everything under the liquid and then cap off, screwing the lid loosely to allow gas to escape. Set on counter or shelf and leave for 3 weeks to ferment, then put in refrigerator or cool area to store.
Author
The Nelson Family
Archives
July 2022
December 2021
October 2021
August 2021
July 2021
May 2021
February 2021
October 2020
July 2020
June 2020
May 2020
December 2019
October 2019
July 2019
June 2019
May 2019
April 2019
February 2019
September 2018
August 2018
June 2018
May 2018
April 2018
March 2018
 RSS Feed