|
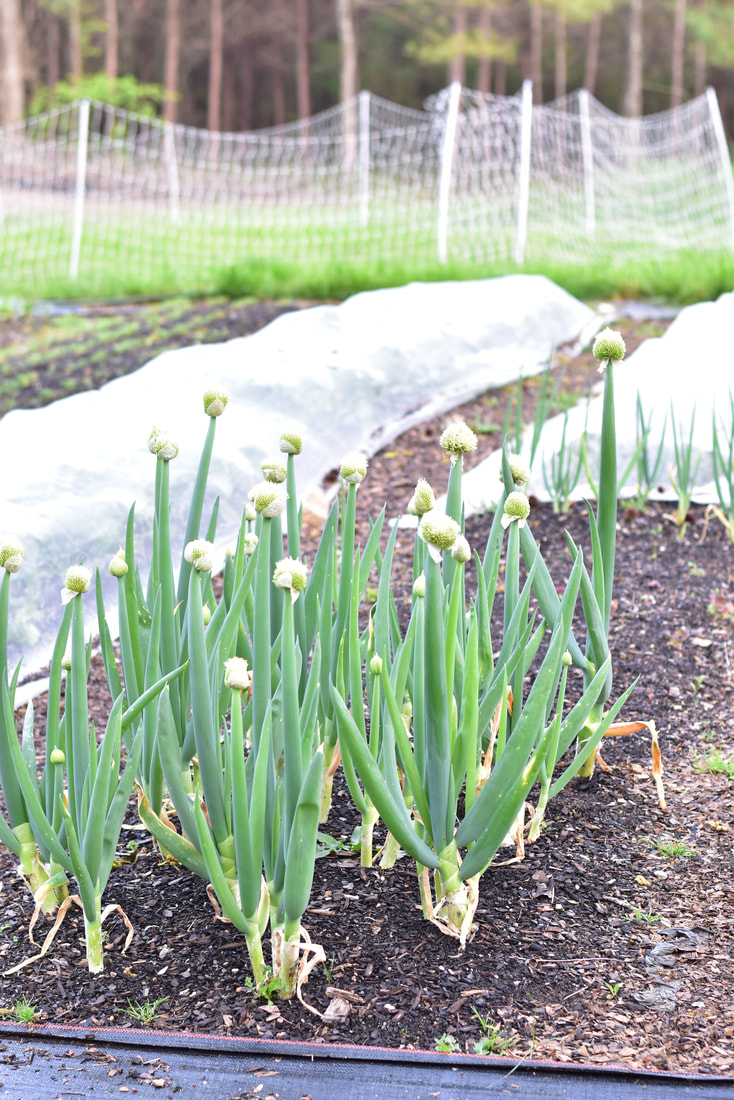
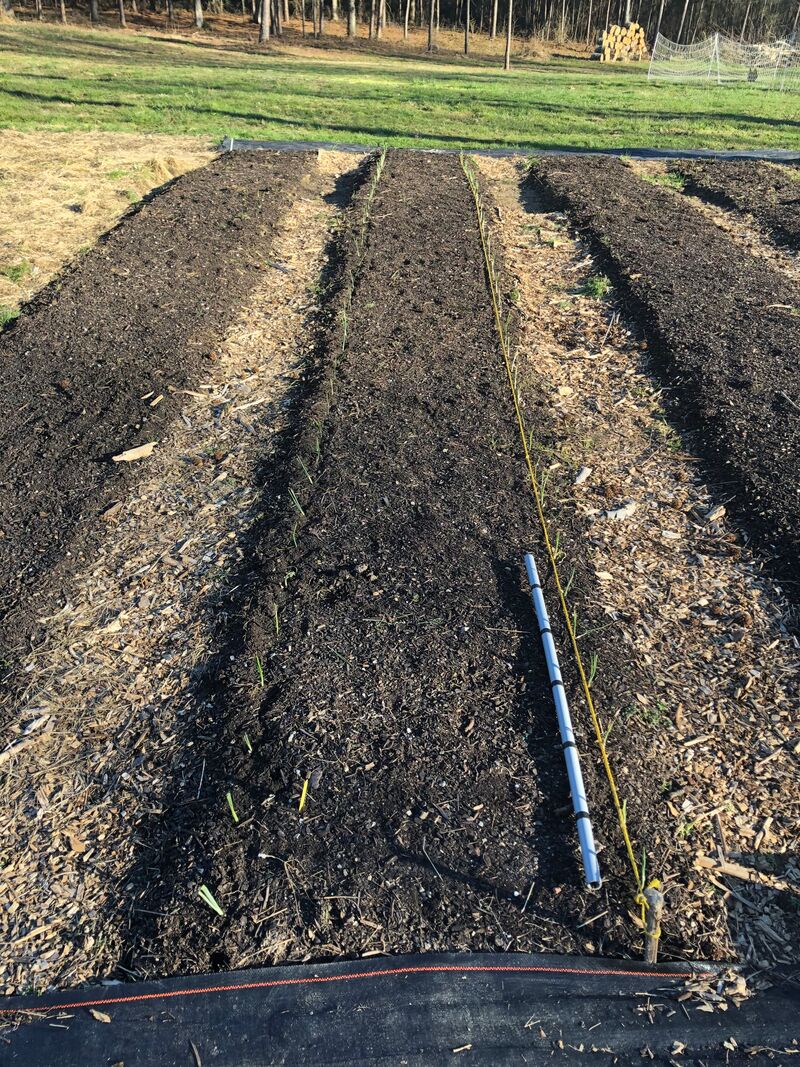
This year we decided to try to grow a years supply of storage onions for our large family without adding to our existing garden space. The plan? Maximize the empty space that would be on either side of our tomato beds! Below we have detailed the process and results of this experiment.
Our order of onion plants arrived the first of March and we planted them right away. Onions need to be planted early to receive enough daylight hours to form a bulb before the heat of summer arrives. Using a string to give us a straight line we planted the onions 6" apart on either side of our garden beds.
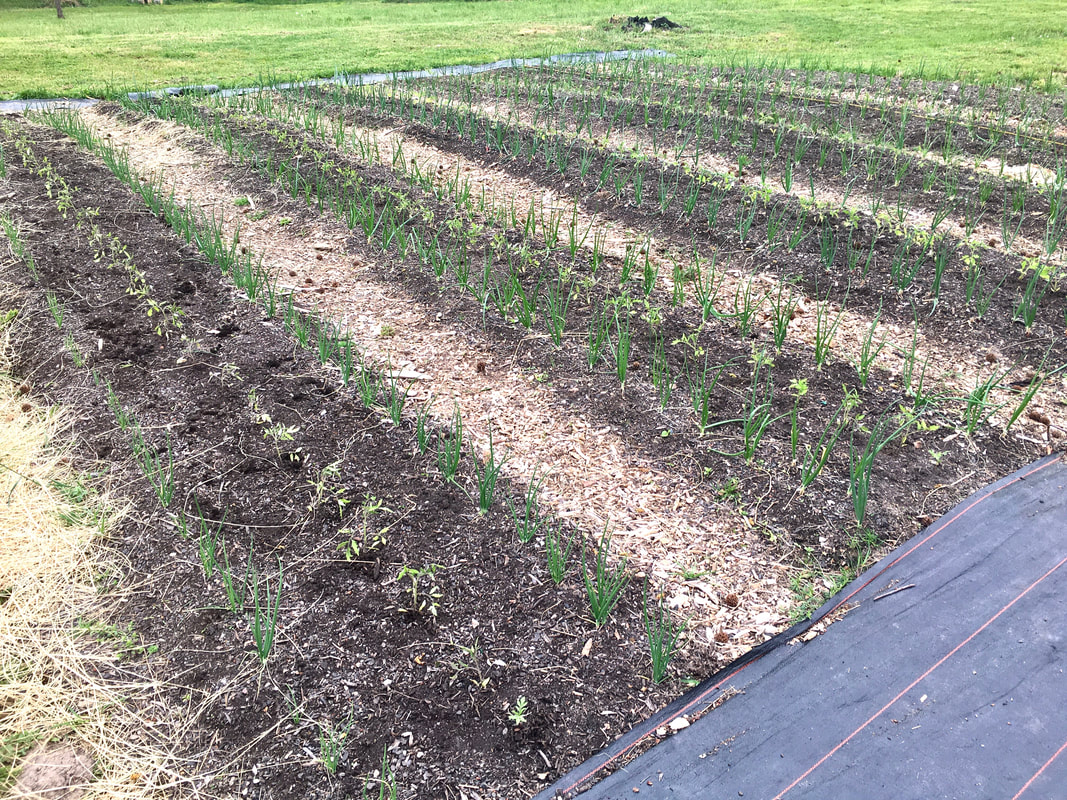
Six weeks later we planted tomato starts down the center of each bed and let them alone to grow happily until adding their trellises, which were simply t-posts and string. The following pictures are of the next two months progress.
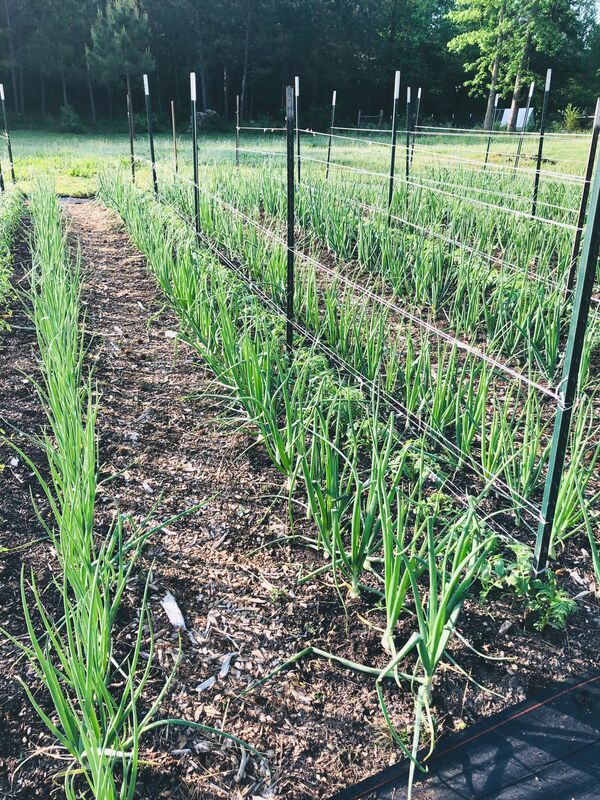
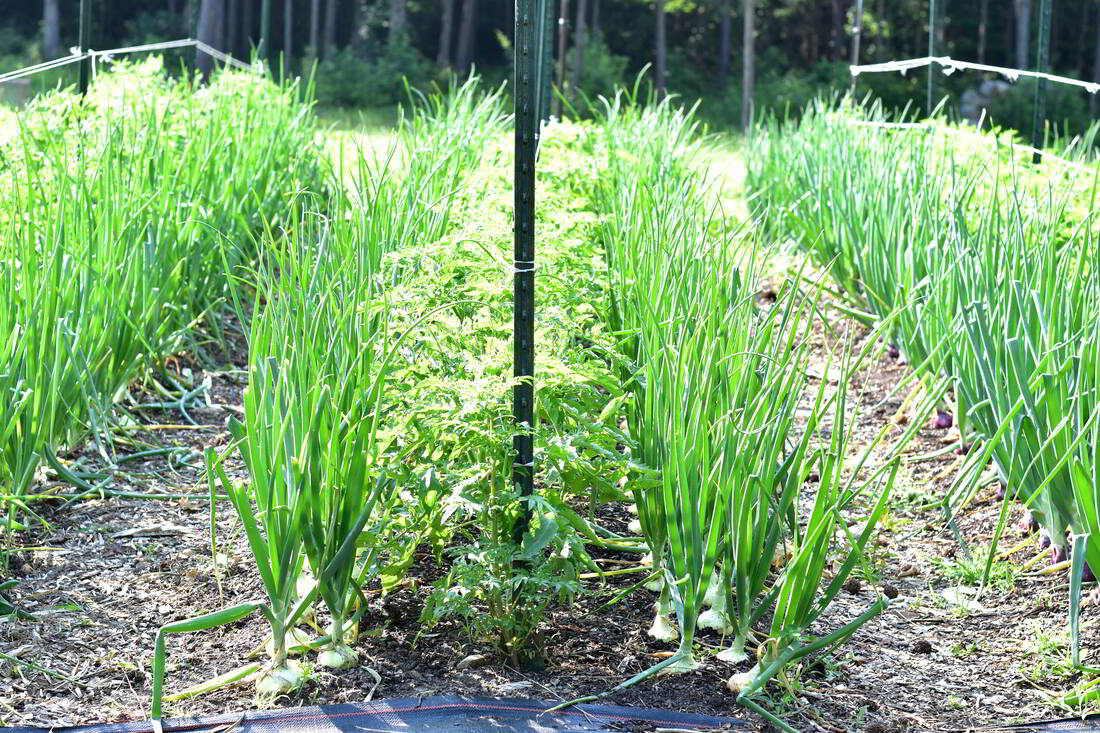
Bulbs swelling and getting close to harvest!

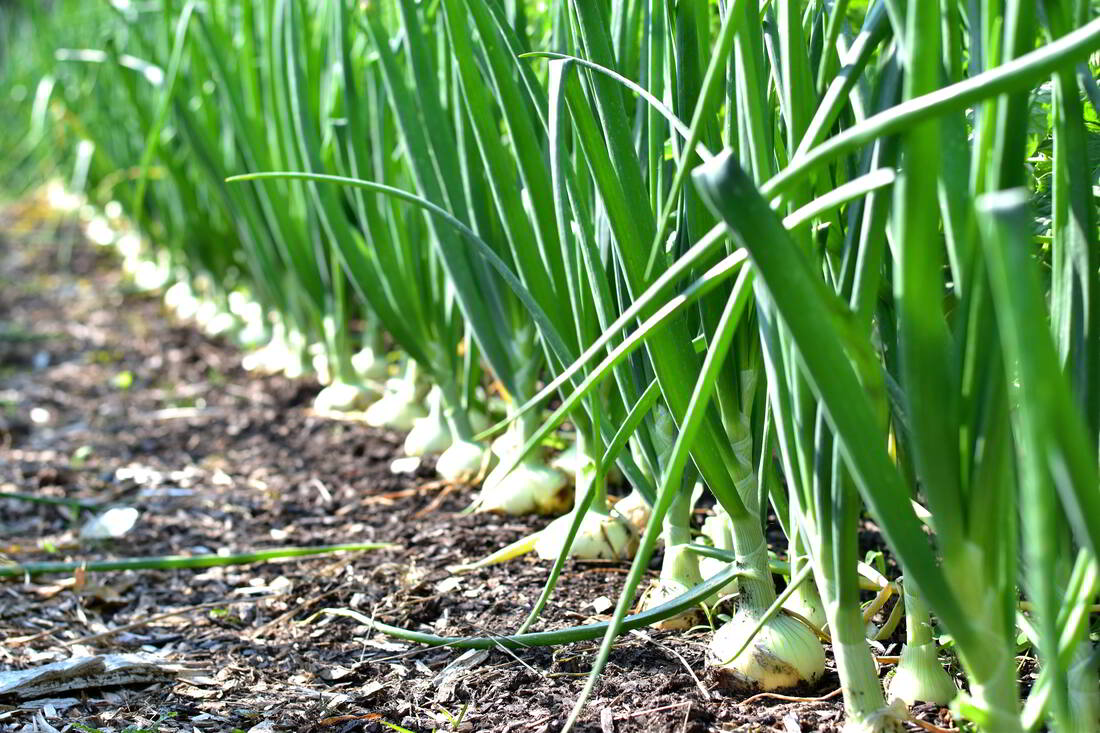
Once the onions were mature we pushed the greens down at the neck to help seal off the bulb for better storage.

The harvest!
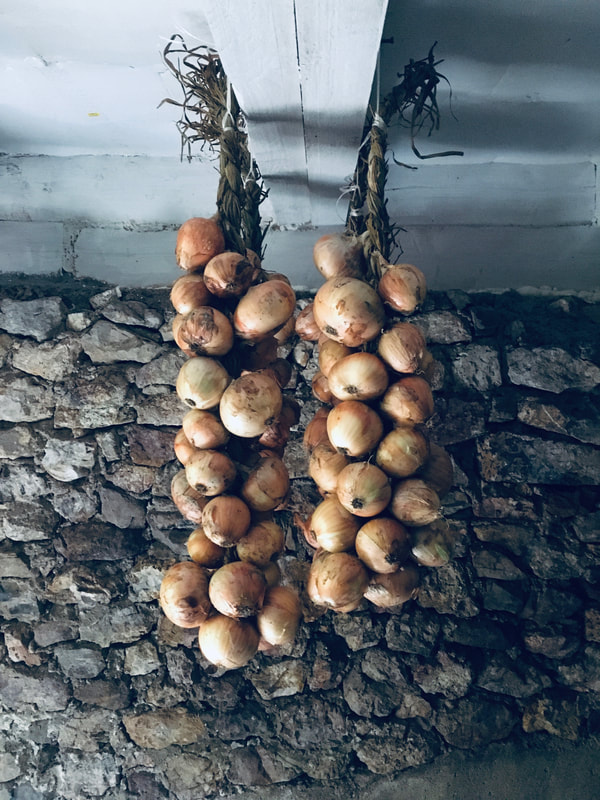
After curing them in our garage for two weeks we braided and hung them for long term storage! The Conclusion: This experiment was a complete success and we are definitely going to repeat it next year! We found that we could easily grow a year's supply of onions using the extra spaces in our garden and the onions were harvested before the tomato plants grew too large. It also was very uniform and pleasing to the eye, which was a happy bonus! We hope you will try this experiment in your own garden, and if you do, ask Christ for His help and blessing. James 1:5 says - "If any of you lacks wisdom, let him ask God, who gives generously to all without reproach, and it will be given him."
0 Comments
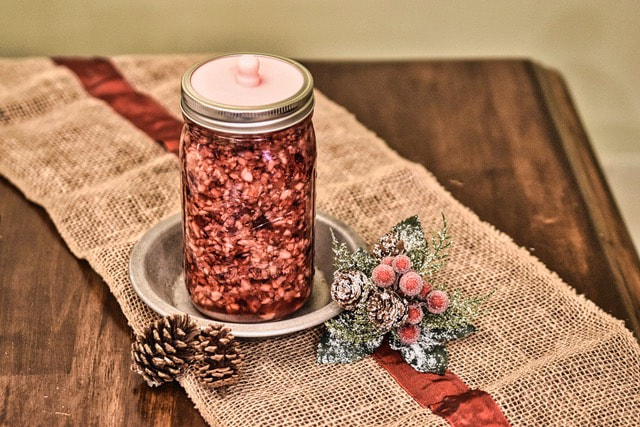 Merry Christmas!! This fermented sauce is a favorite holiday recipe in our house and we wanted to share it with you! Similar to a chutney, it is so delicious alongside your meal and the best part is that this is actually healthy for you! But you may ask, why ferment cranberry sauce? The process of fermentation breaks down the natural and added sugars to form beneficial bacteria that are great for good gut health and digestion. When fermented foods are added to our meals, they can actually aid in digestion. Not only that, but through fermentation, the naturally occurring nutrients are more bioavailable, meaning we’re getting more bang for our buck by eating the fermented product over eating them raw. Many people also consider cranberries to be a superfood because of their high antioxidant content. We included the recipe in video form below from the original source, if you want to see it in action. We hope you give it a try this Christmas and if you do, leave us a comment! ; ) Fermented Cranberry Sauce Recipe Ingredients
Instructions
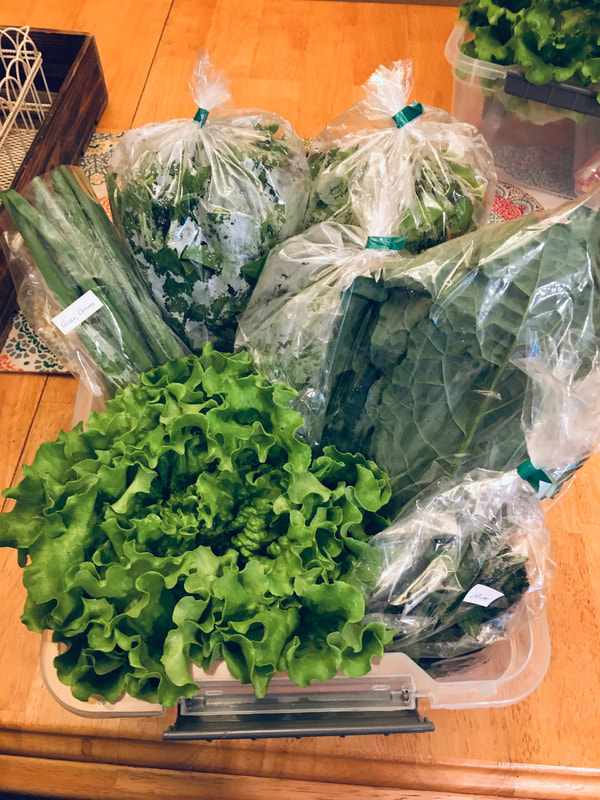
Ecclesiastes 3:1-2 "To everything there is a season, and a time to every purpose under the heaven: A time to be born and a time to die; a time to plant and a time to pluck up that which is planted." 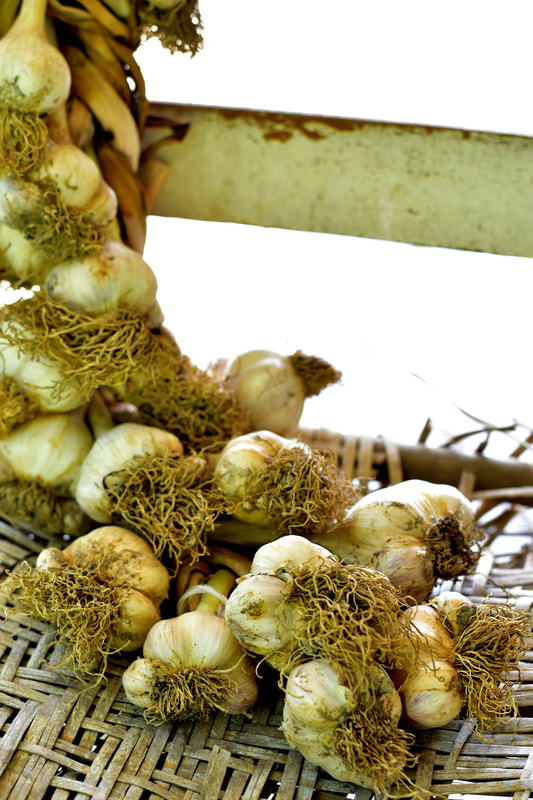 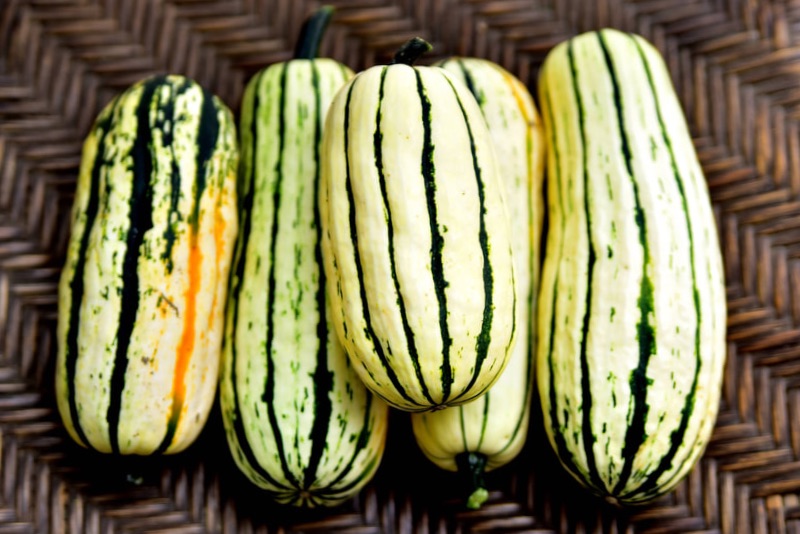 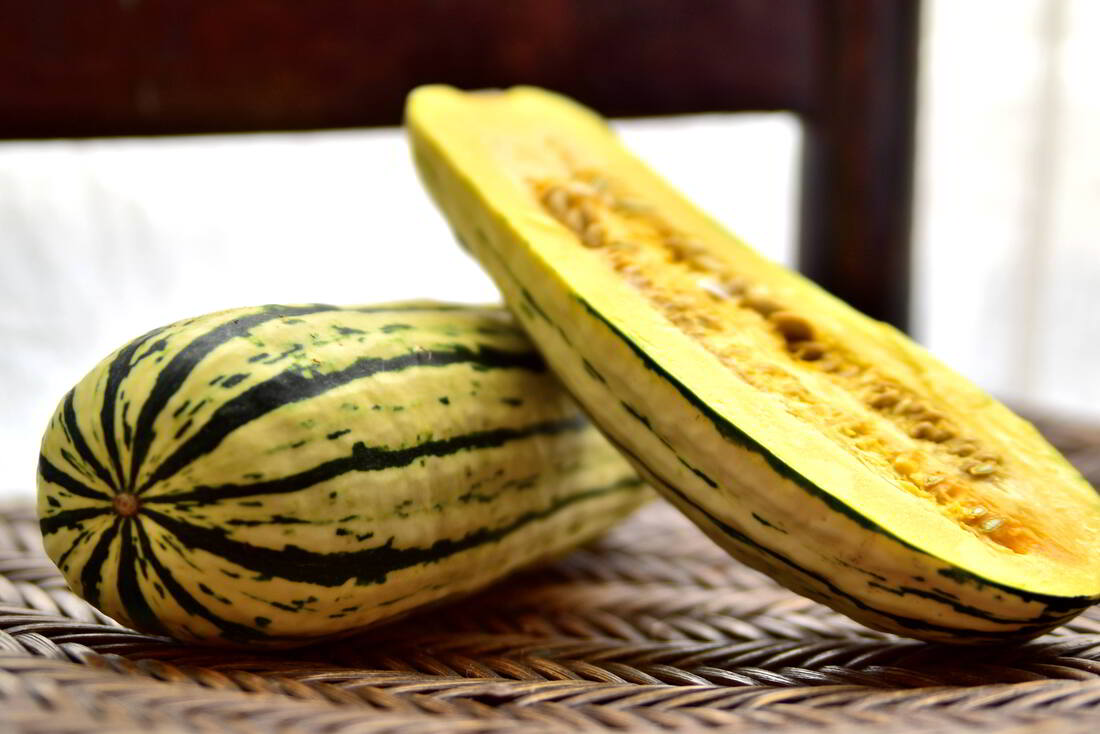 Delicious Delicata Squash. A new favorite! 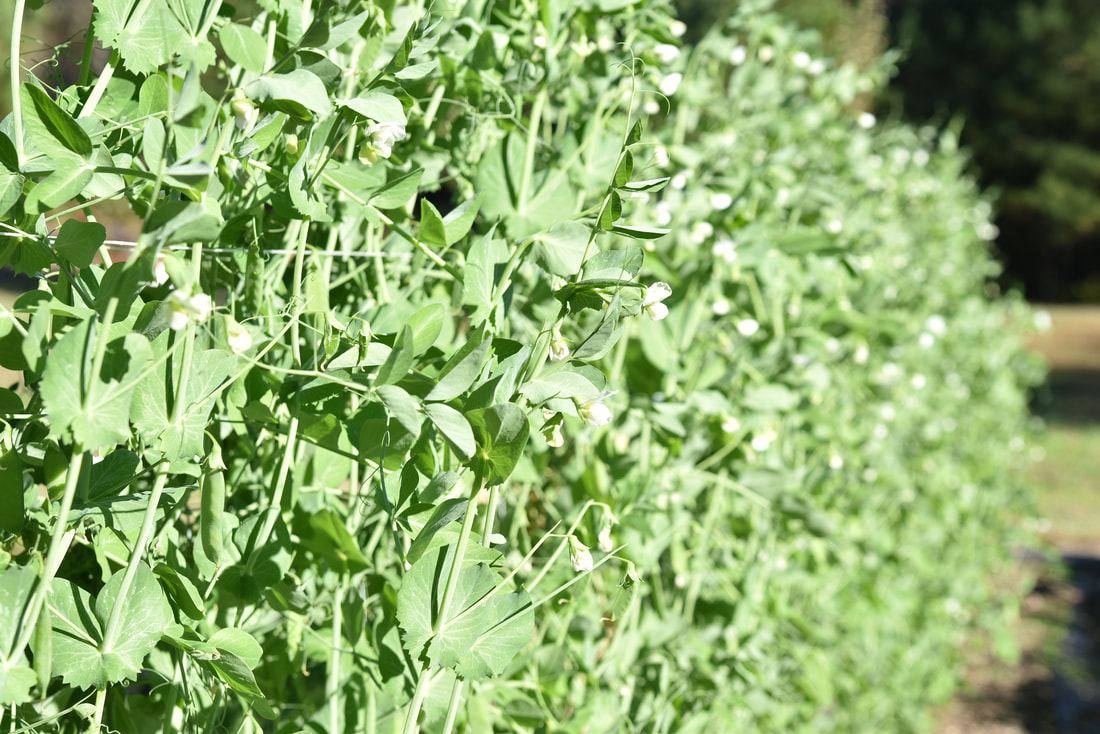 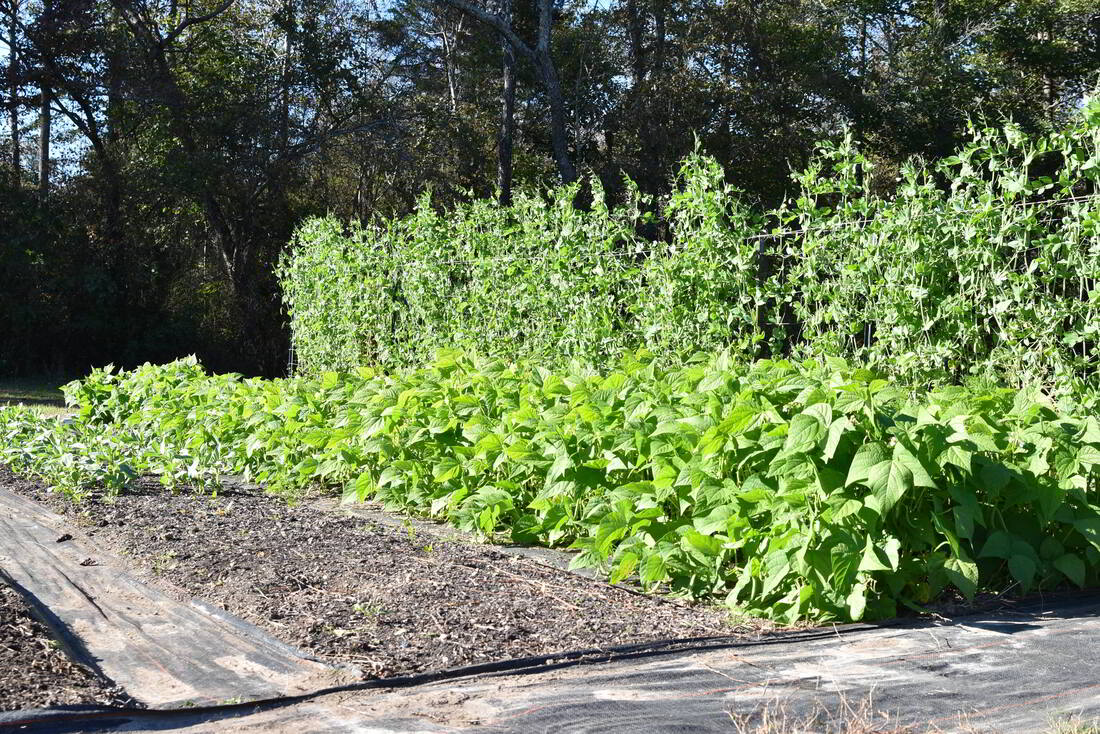 Peas and green beans in the fall garden.  Freshly picked! 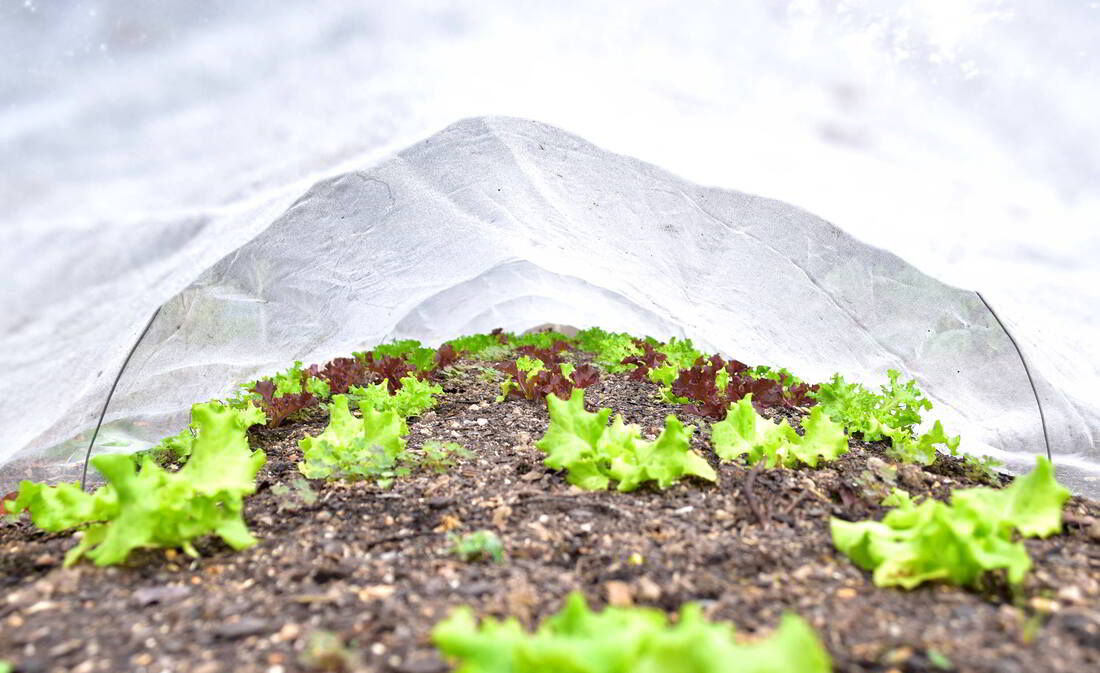 Lettuce under cover.
A delicious, cooling drink that is perfect for using up those extra summer cucumbers! This recipe is a new favorite of ours and we hope you will enjoy it just as much! 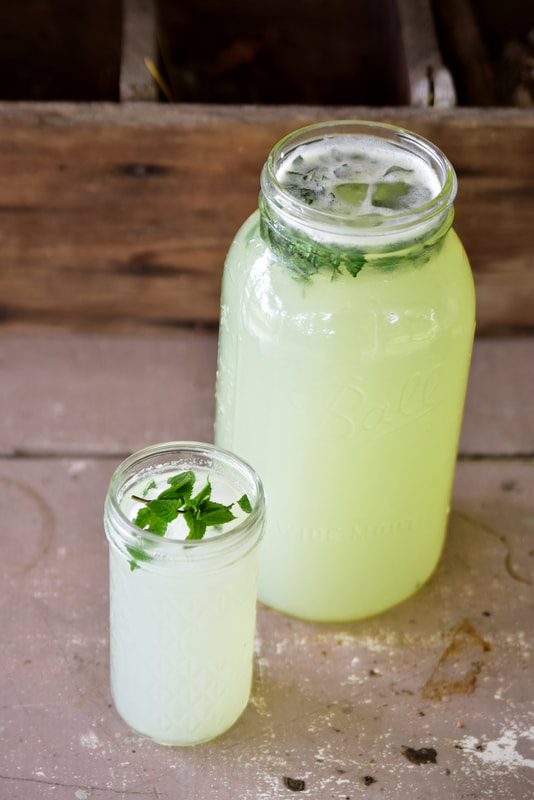 Ingredients:
1. Peel and roughly chop cucumbers and place in a half gallon jar. Fill the jar with water, just enough to cover the cucumber chunks, and blend with an emersion blender until smooth. Alternatively, you can do this step in your countertop blender. 2. Strain the blended cucumber through a sieve to remove the pulp. The cucumber concentrate can now be poured into a 1 gallon container. 3. Add lime juice and mint leaves to the concentrate and fill the rest of the way with water. Sweeten to taste and add ice. Enjoy! * Maple syrup is a great, all-natural sweetener for this drink, but you could use stevia powder/ concentrate, coconut sugar, honey, monk fruit, cane sugar, etc. 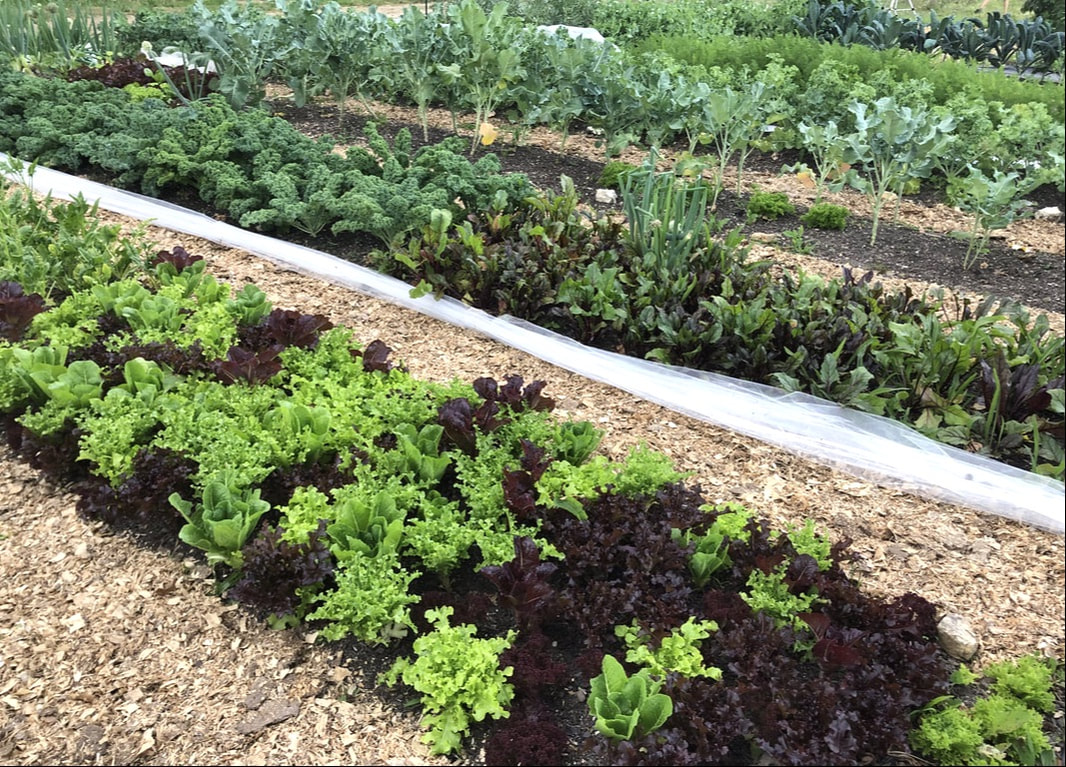 Come to our farm this September for a hands-on class that will help equip you to produce your own food using low-tech, simple methods that copy God's design in creation. While the course will be catered as much as possible to the needs of the participants, the following are some of the things that may be covered/included.
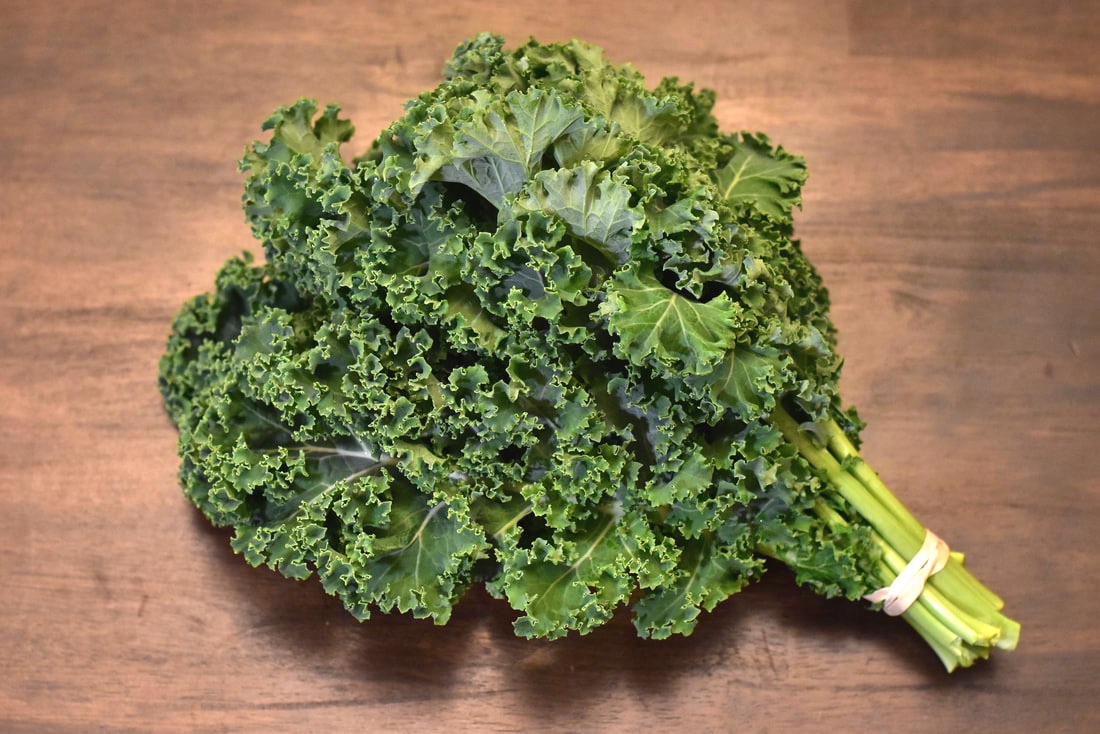
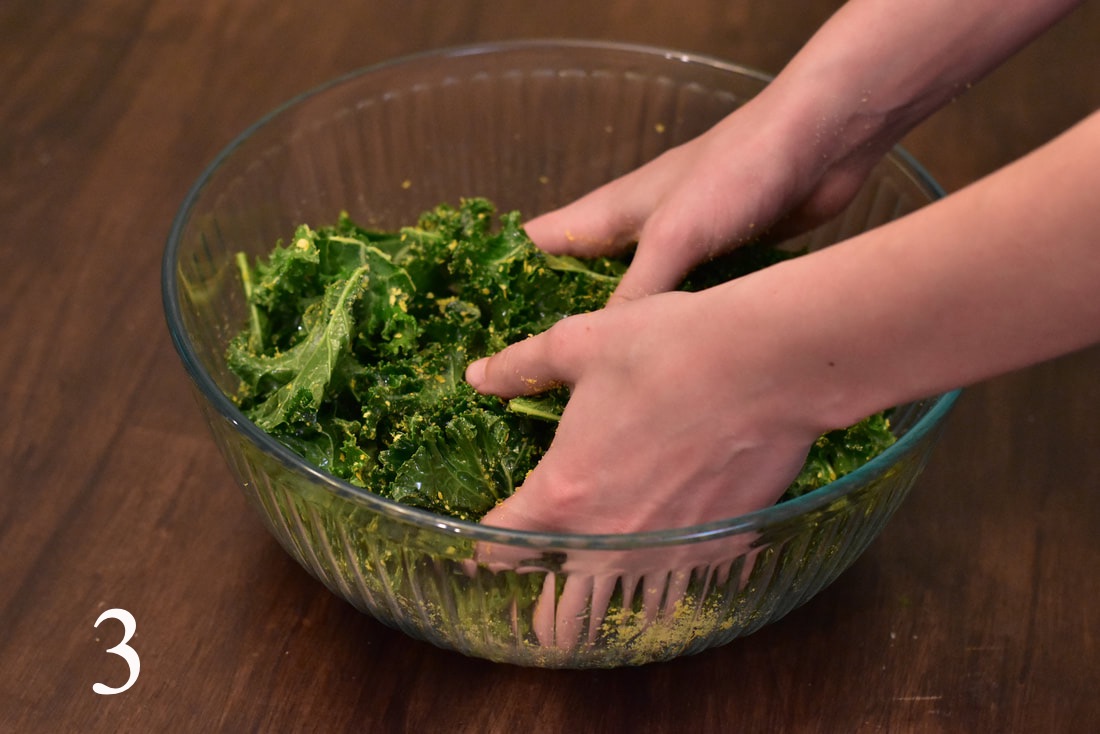
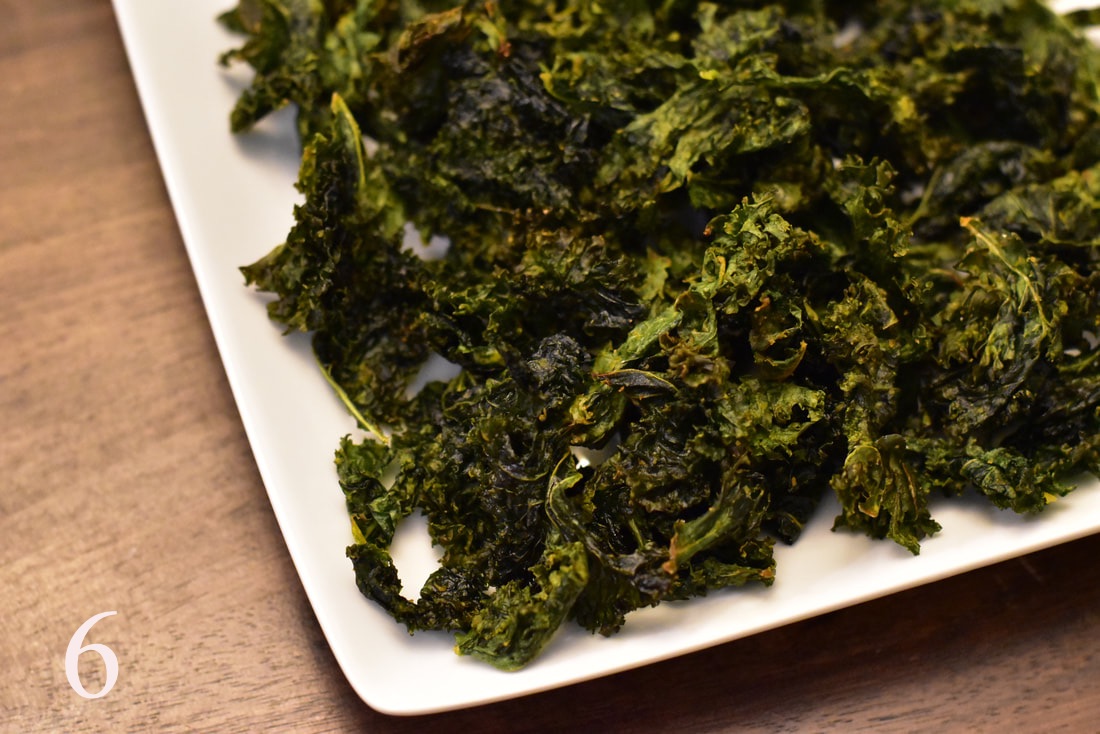
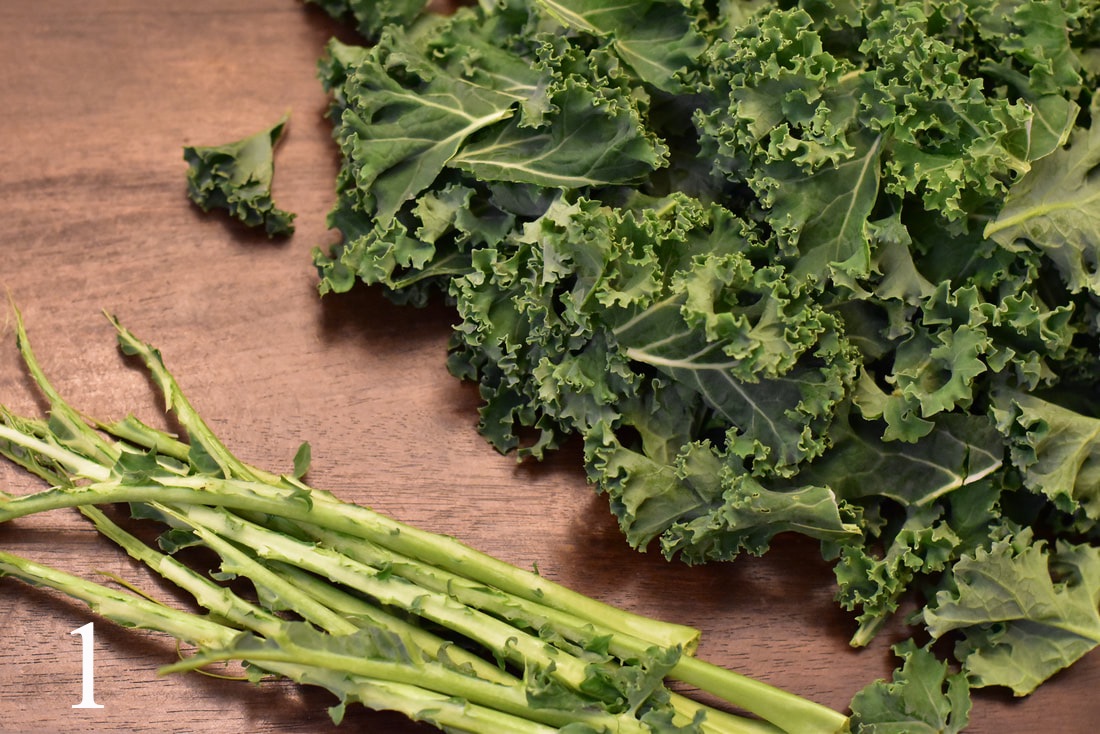
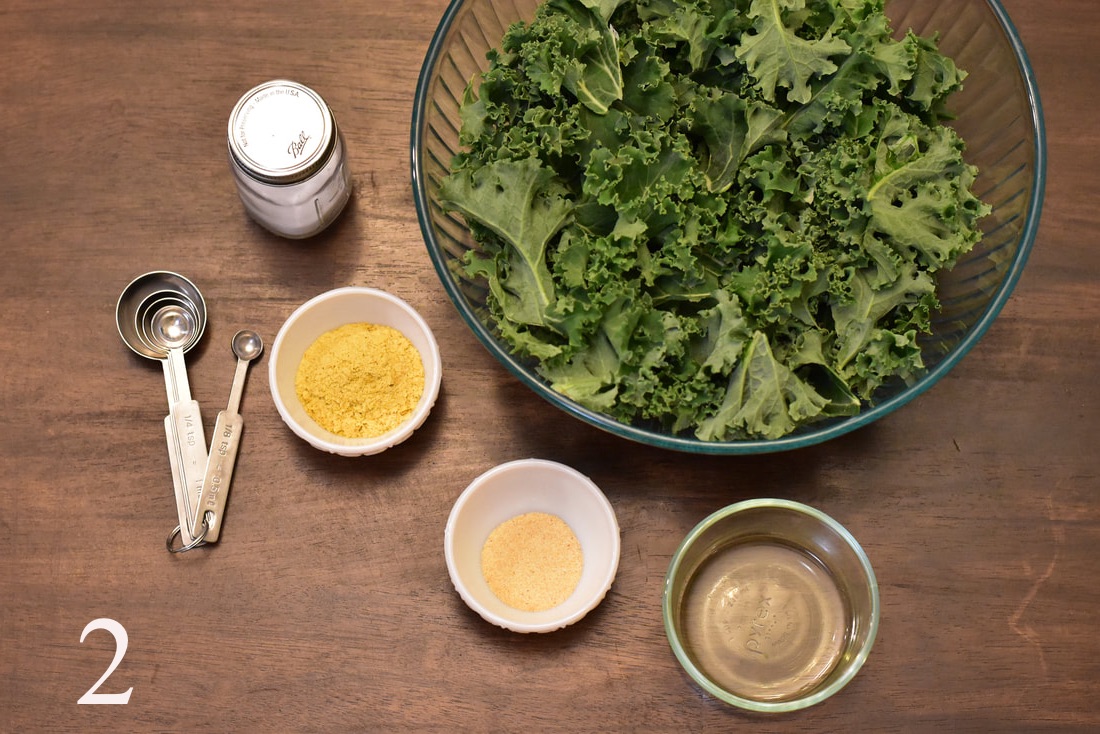
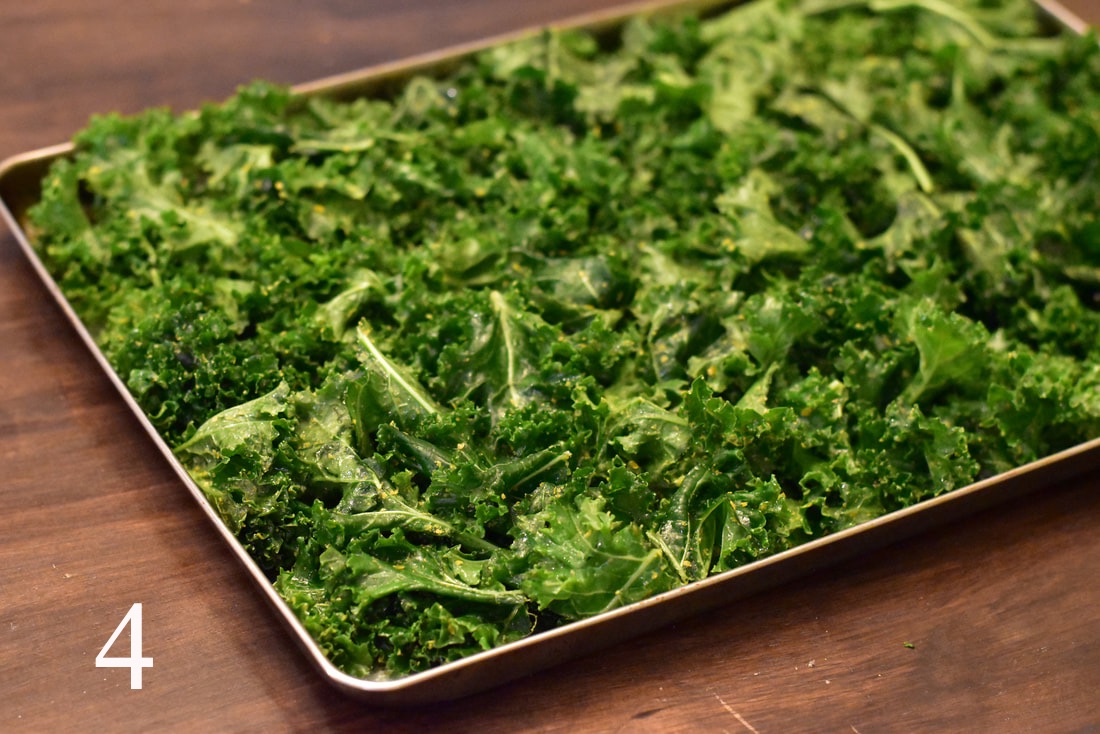
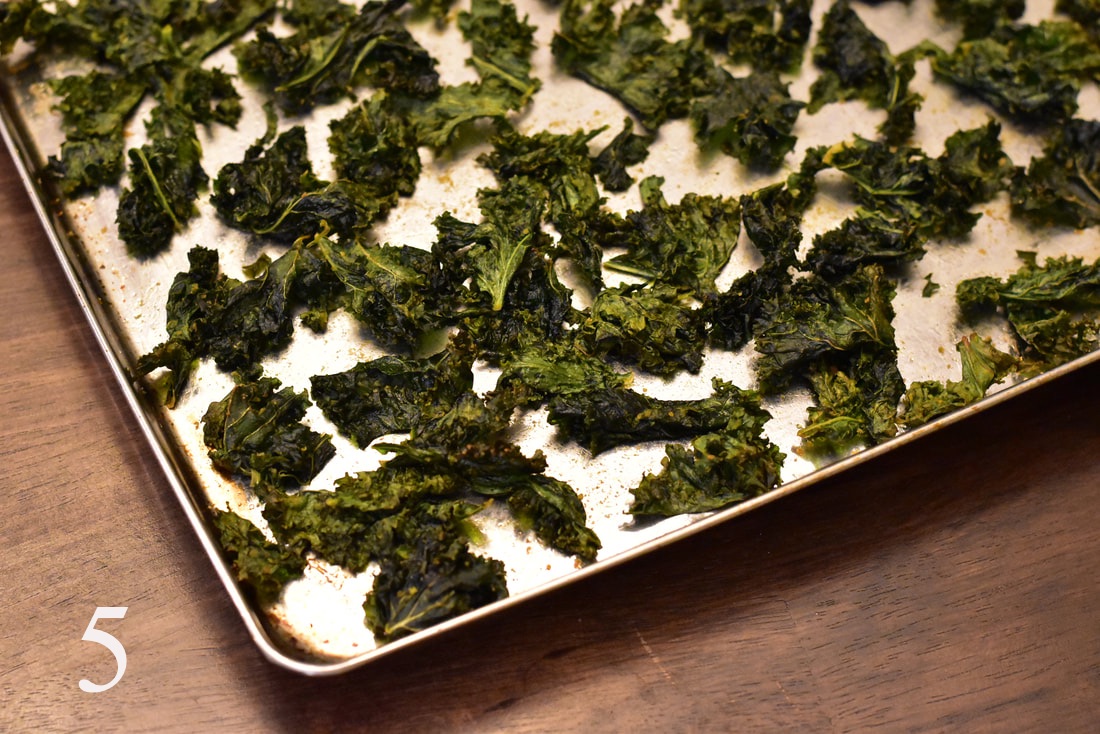
Price : Singles price - $120 Couples Price (bring a family member, spouse or friend along) - $100 per person Meals : Lunch and dinner included in class price. Please let us know if you have any particular allergies or cannot stay for dinner. Lodging: If you are coming from out of town, you may stay on our farm during the class, for an additional $20. Let us know if this is the case and we will work out logistics. If you will be staying overnight with us, additional meals can be discussed when you sign up. The deadline for sign up is September 4th, so if you are interested in attending or have any questions please contact us using the form below!   This very simple, but delicious, recipe is a favorite in our family for a healthy lunch, snack or side dish! It is a great way to use up extra kale in your fridge or garden and what's even better is you can use any variety of kale you happen to have on hand. We hope you give it a try! Kale Chips
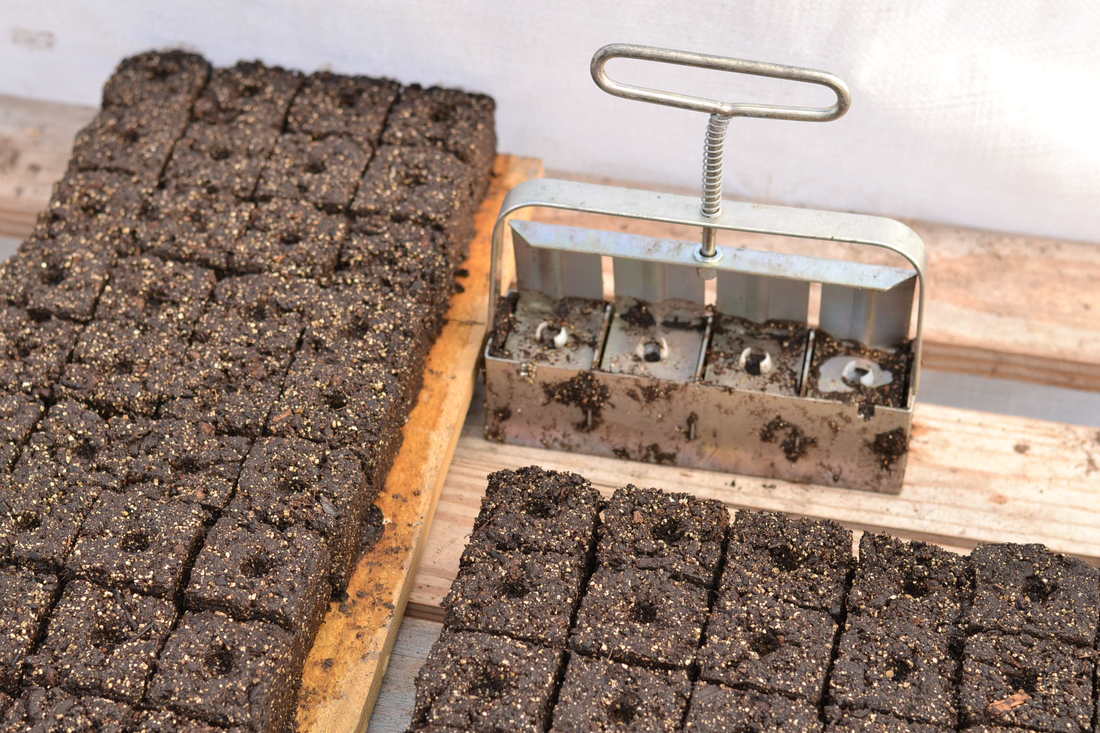
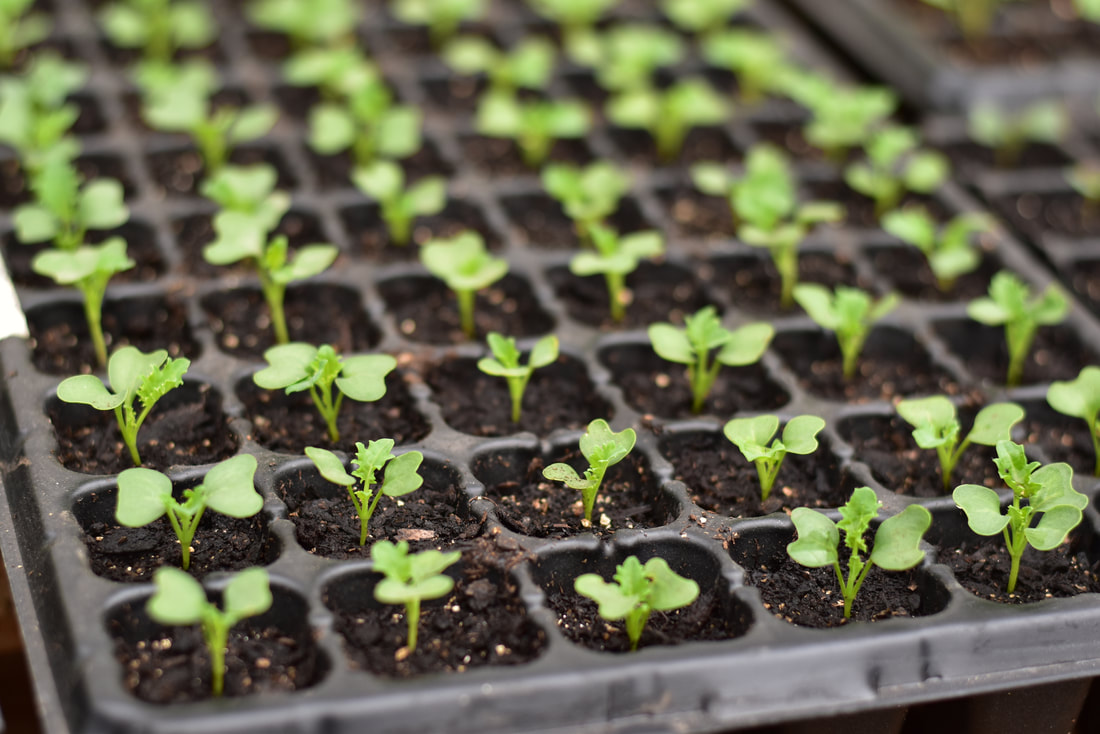
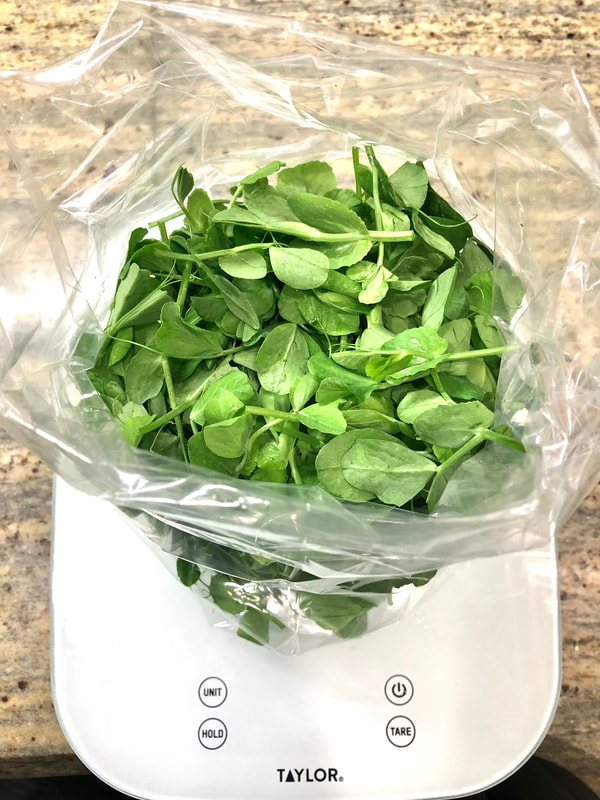
  Our 10 week produce CSA has started back up for the Spring, so the gardens are full to bursting and we are enjoying harvesting the abundance of greens and roots. 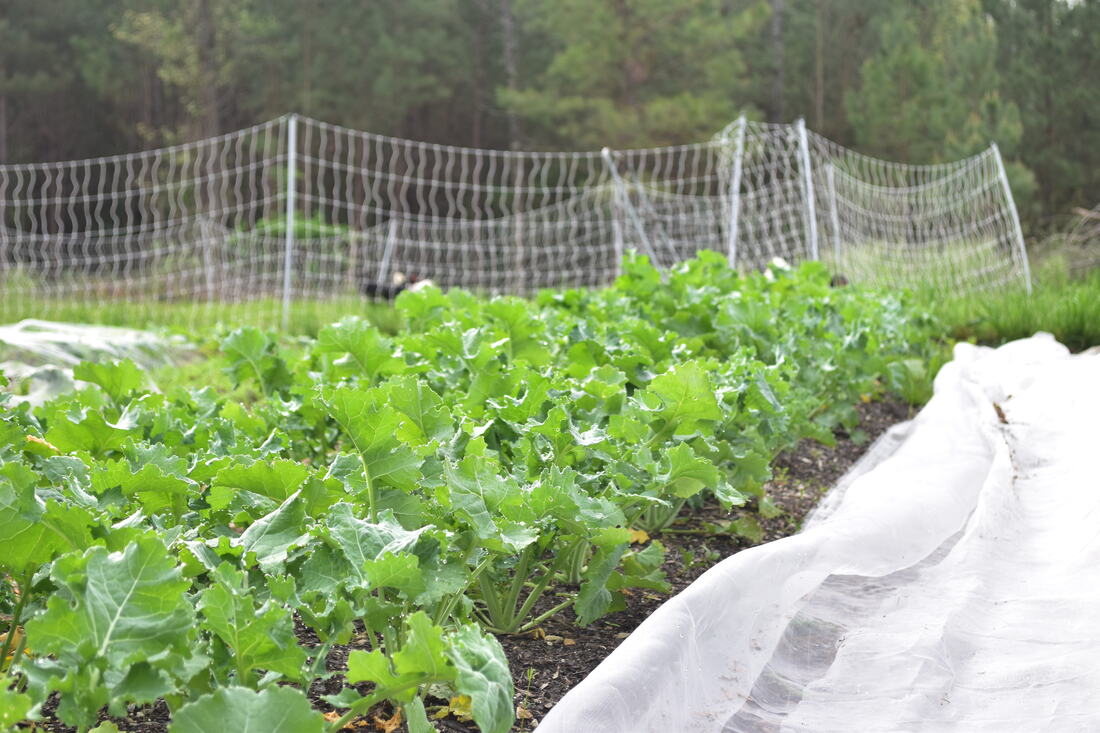 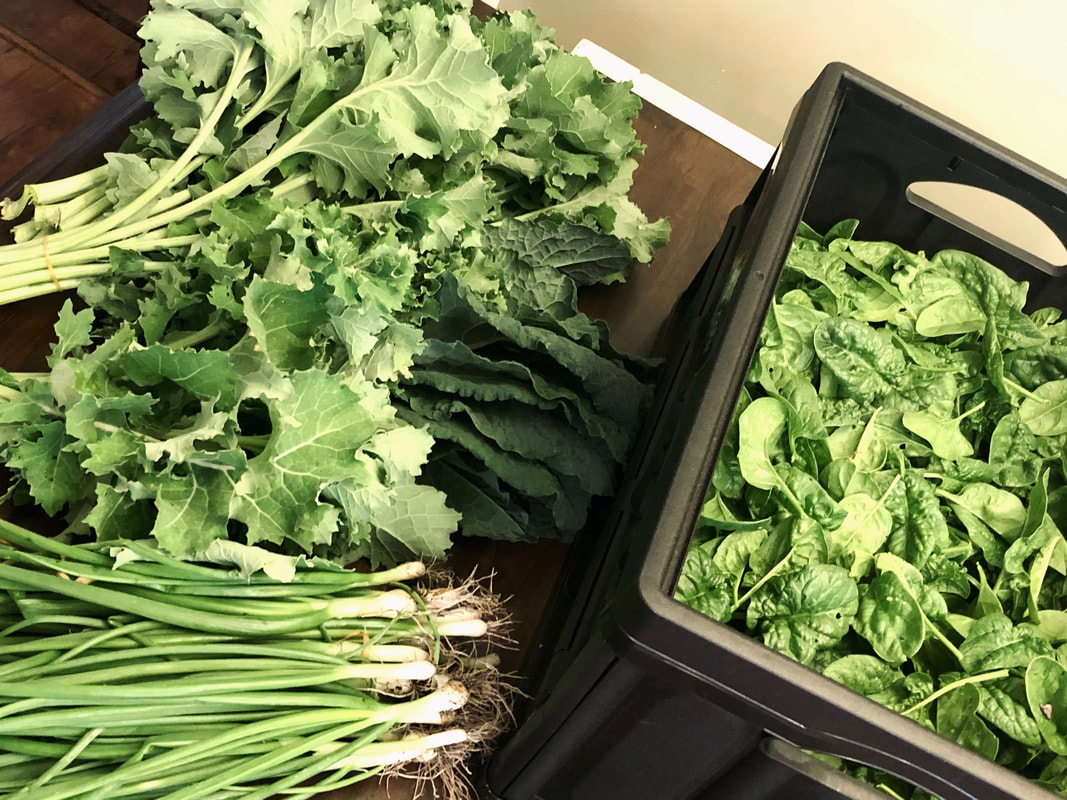 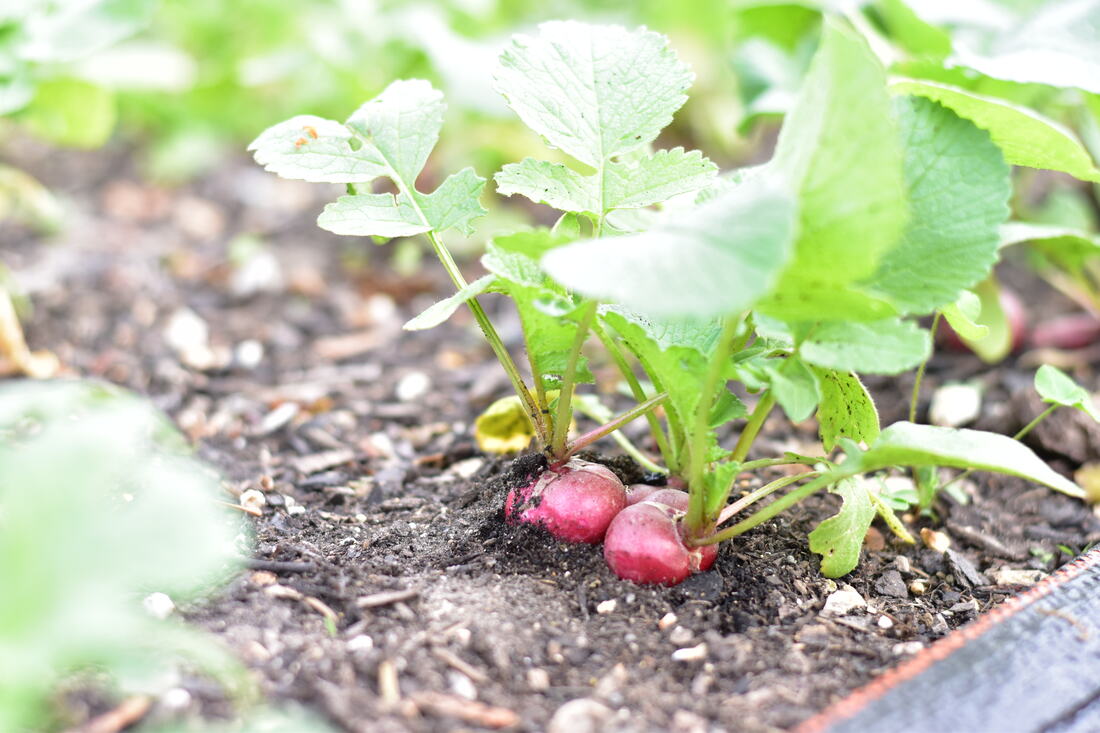  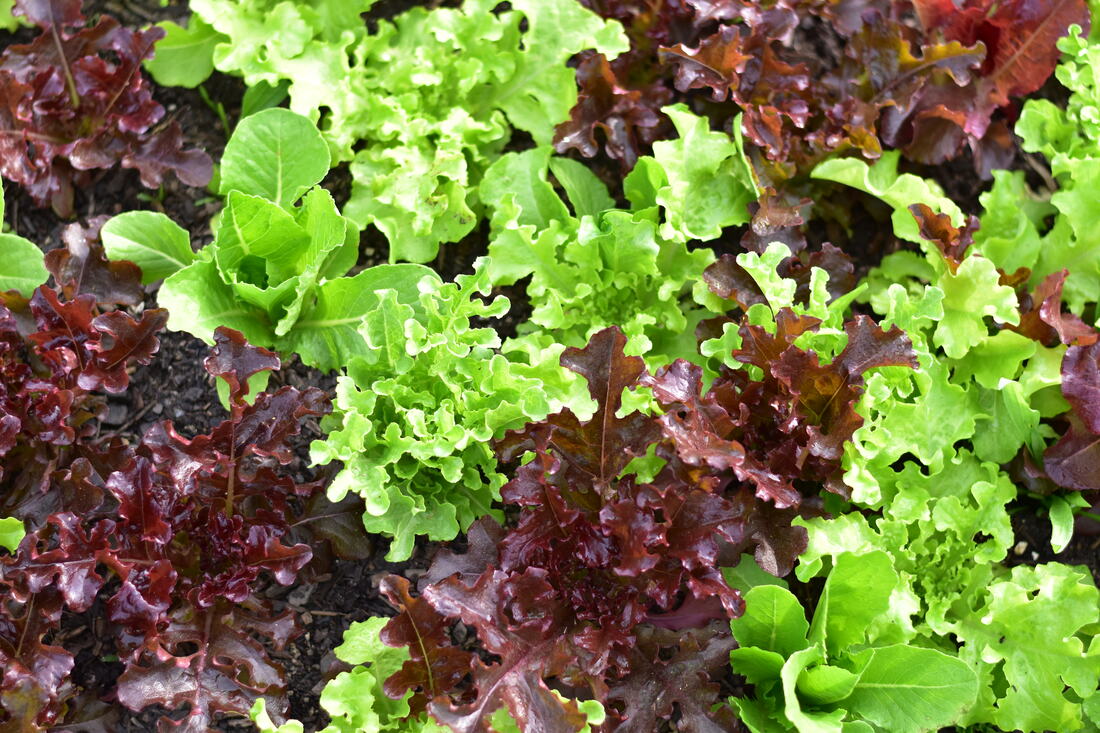 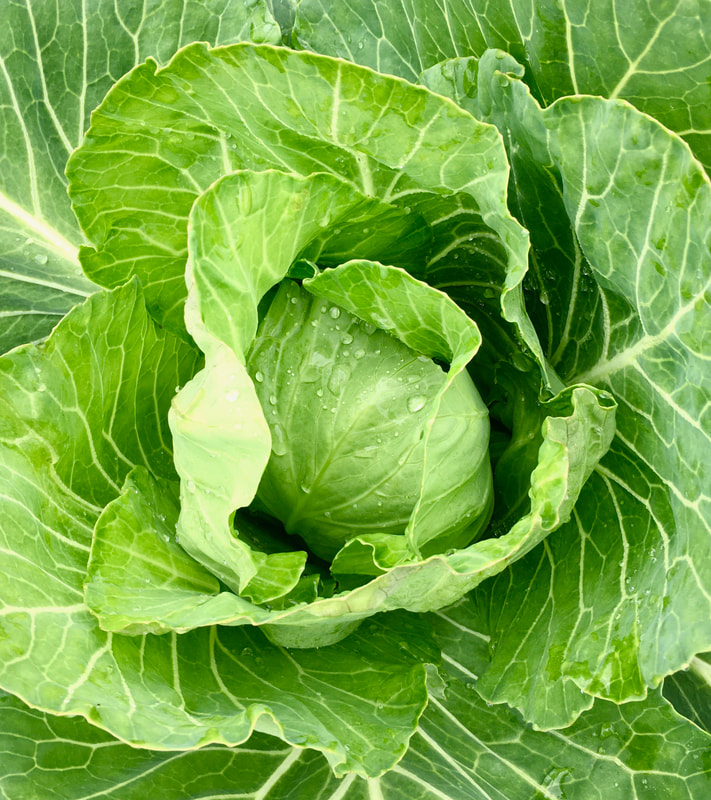 Chickens and ducks on green grass! 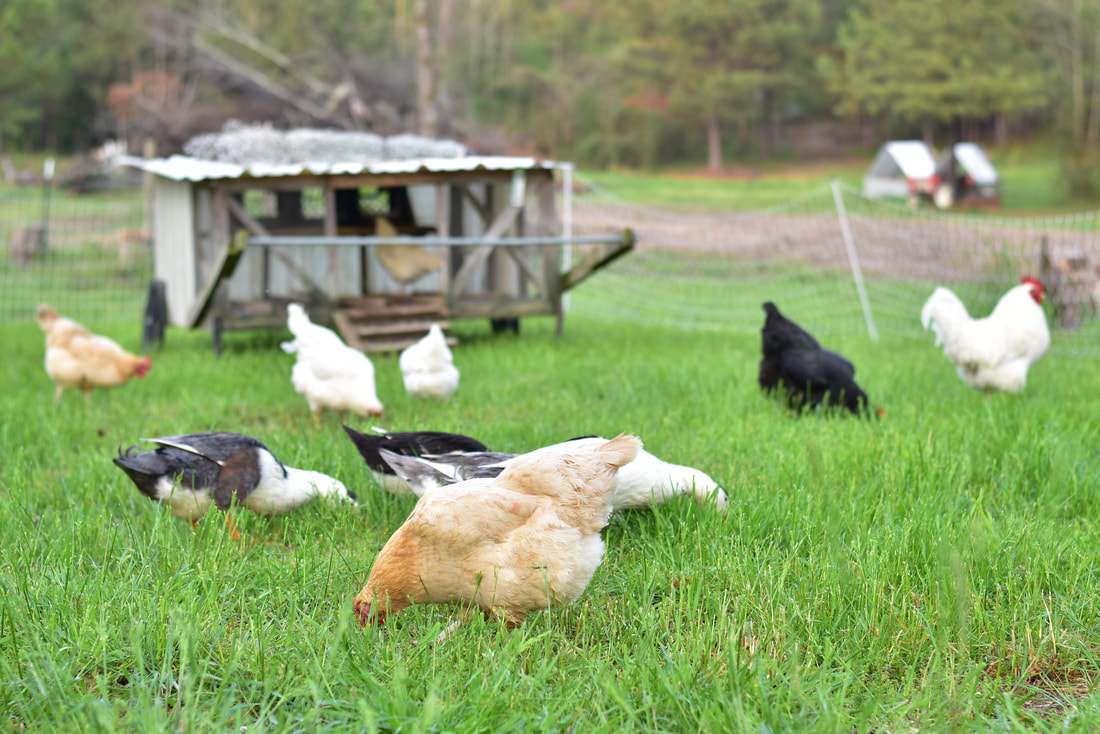 Fresh Chicken waiting to be weighed and labeled. 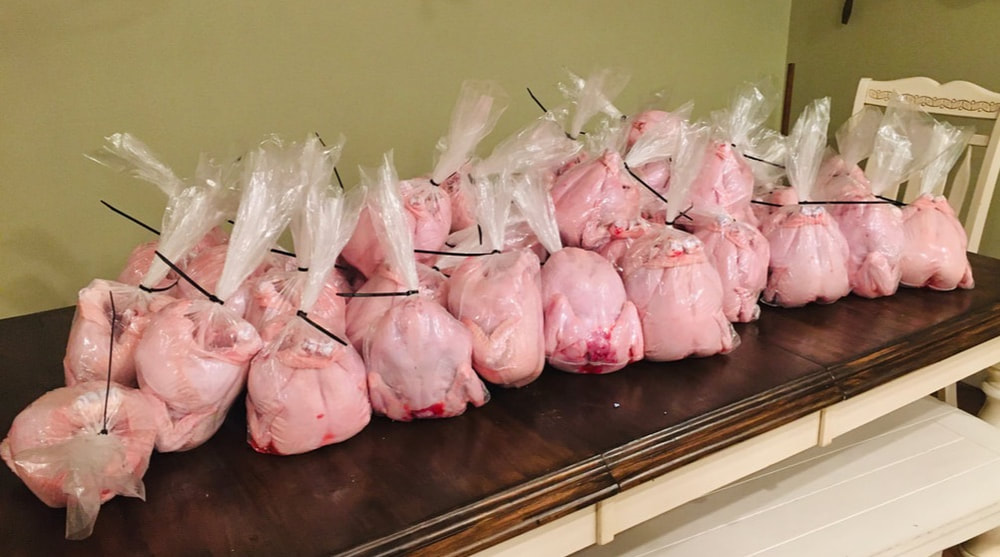 James 1:17 - Every good gift and every perfect gift is from above, and cometh down from the Father of lights, with whom is no variableness, neither shadow of turning. Spring is just around the corner, but we still have a bit more time before everything is in full swing. Here at Reformation Farms, we are not waiting until spring to prepare for the season ahead, and we want to share with you 3 things YOU can start on right now, to get ahead of the growing season this Winter. #1. Start Your Own Seeds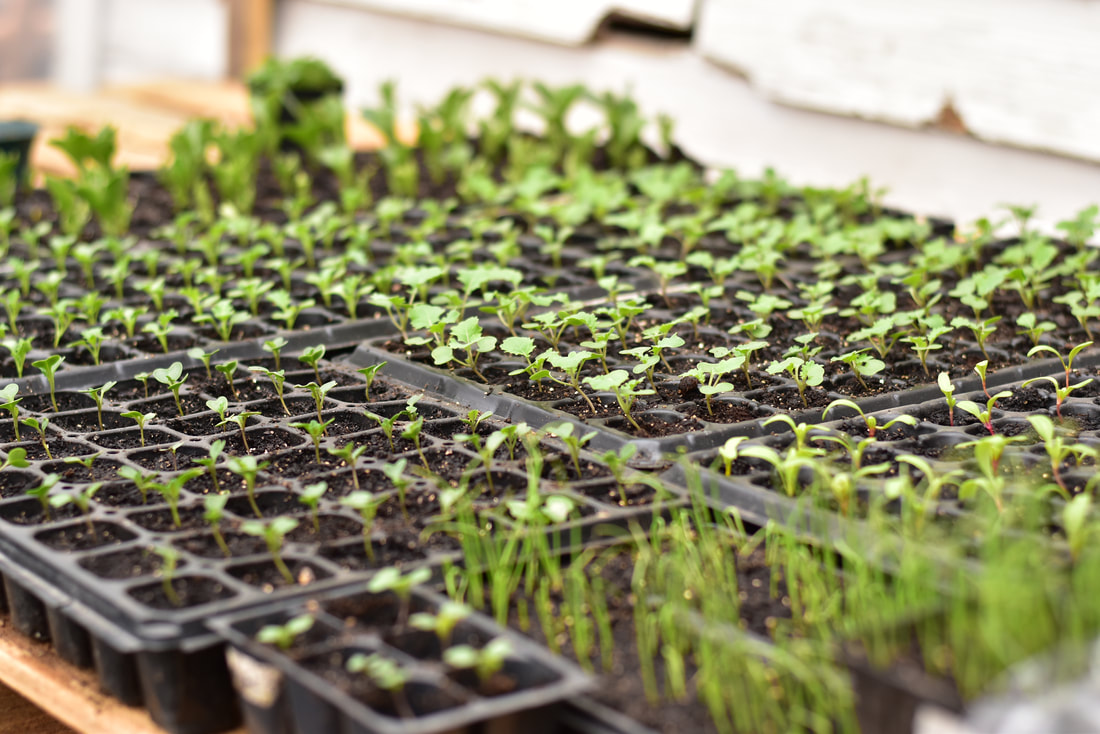 It can be indoors under a light, by a window, or in a greenhouse. No matter what, you can start your own seeds indoors and get a jumpstart on the growing season (not to mention SAVE some money on buying plant starts)! If you are feeling brave, you can even mix your own potting soil and make this project fit your budget even better! You may ask what seeds can be started in February? There are quite a few: - Lettuce - Spinach - Kale - Peas - Beets - Radishes - Tomatoes - Peppers - And several others You'll need some pots, cell trays or may even choose soil blocks (see here), if you prefer to steer away from plastic.
Once you have seeded your preferred containers, water them well and place a dome or a sheet of plastic wrap over the top to create a greenhouse affect (this will keep the seeds warm and moist and speed up germination). Once they germinate, make sure they have plenty of light and water until they are ready to plant outdoors. #2. Plant Potatoes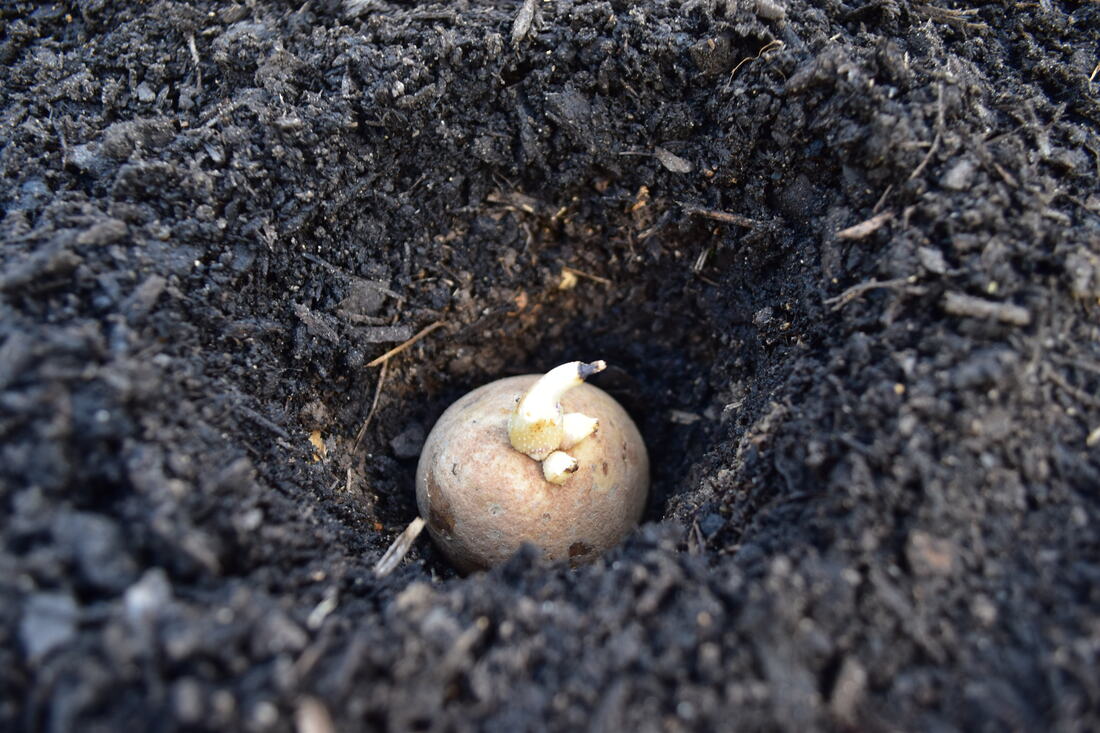 If you live in zone 7 like we do, February is the perfect time to get your seed potatoes in the ground! Giving them an earlier start in the winter will ensure a stronger root system before they sprout in March. (If you don't know what zone you are in, this zone finder can help). Planting Potatoes is easy and fun! 1. Choose a dry afternoon when the sun has thawed the soil enough and plant potatoes about 2-3 inches deep in the ground. 2. Apply a layer of mulch (we use pesticide and seed free hay - grown locally - but you could use wood chips, old grass clippings, etc.) over the bed or area planted. 3. Label the area and forget about your potatoes until they sprout! #3. Deep Mulch a New Garden Area If you don't own chickens, please don't skip over this section! You can still deep mulch a new garden area easily and get both composting and soil microbial benefits without a flock, but let's talk about the benefits of chickens for a moment. Ideally in the warm months, a flock of chickens will be moved in a portable net or coop to new grass each day. So what about in the winter? There's no grass, weeds or insects for the chickens to eat... so why not take a break from moving them daily and put them to work on a future garden plot! The chickens will kill all the vegetation in the prescribed area and happily scratch and fertilize generously. 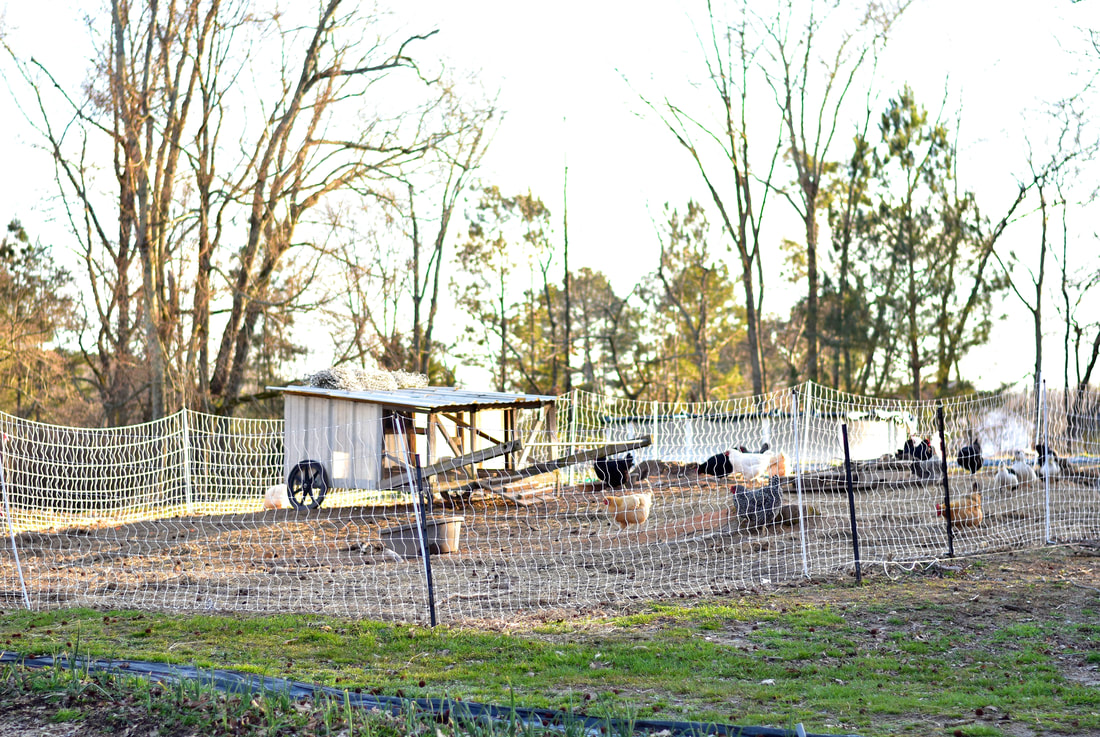 All YOU need to do during this winter break is to: 1. Feed and water the chickens (that's pretty obvious :)) 2. lay down a generous amount of mulch on the bare soil/manure build up once or twice a week. The mulch keeps the area clean, minimizes bad odors, breaks down into compost, provides a foot warmer for the chickens and a hiding place for earth worms... the benefits are endless. 3. Move the coop occasionally, to distribute the birds nightly manure deposits. The result in the Spring will be a rested you, happy chickens, and an extra garden area beautifully ready to plant in or make beds out of. I think that's a great deal, don't you? Now, like I said, if you don't own your own flock, you can still do this. Just lay down mulch once or twice a week until the area is covered and leave it until Spring. The soil will have softened, the mulch will have decomposed some and the weeds under the covering will have died.  So these are three things you can do right now to get a jumpstart on your growing season!
Our 2021 Spring Box CSA program is now available for signup with a brand new page dedicated to giving you more information and answering frequently asked questions. You can check it out below! Get More Details!
 |
Author
The Nelson Family Archives
July 2022
Categories
|
 RSS Feed